


Smart White Projector Screen Paint Pro - Benefits
Superior Performance
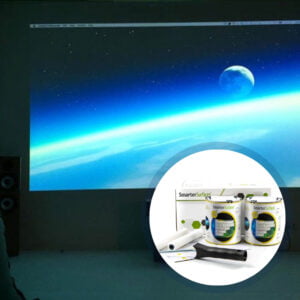
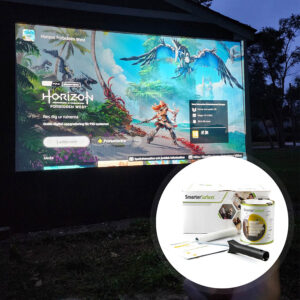
Smart White Projector Screen Paint Pro delivers high-quality, bright, and clear images in any lighting condition, outperforming traditional screens.Certified Gain Value & Semi-Gloss Finish
With a certified gain value of 1.24 and a semi-gloss matt finish, it provides excellent image reflection, tested and designed to work with all popular projectors.Optimal Projection Capability
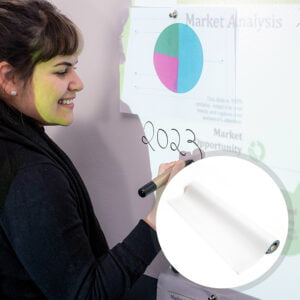
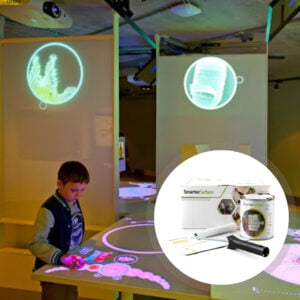
Project sharp and vibrant images in varying ambient light settings and prevent hot-spotting. Perfect for meeting rooms, classrooms and workspaces.Subtle & Space-Saving Finish
Delivers a subtle projection option, preserving an elegant look within your environment. Offers limitless projectable surfaces, effortlessly tailored to suit your requirements.Easy Application
Apply the provided white water-based primer, followed by two applications of White Projector Screen Paint Pro top coat to any even surface.For Use With Projector Screen Paint
- Projector Requirements: Interactive, HD, 4K, Standard Projectors
- Minimum Recommended Lumen Value: 1,500 Lumens
- Lighting: works in most rooms with with normal to high level ambient light
- Compatible Surfaces: can be applied to fixed fabrics and is suitable for painting or refurbishing old screens, but not suitable for roll-up screens.
Projector Screen Paint Performance
- 4K & 8K Ultra HD Ready
- Gain Value @ 90 °: 1.24
- Viewing Angle: 140 degrees
- Certification: Independent Projection Performance Report – CREST
Comparison Table
Compare the performance and specifications of our full projection range
Smart White Projector Screen Paint Pro - Technical Specifications
Colour: White (RAL 9003)
Finish: Matt
Screen Size:
- 4.5 m2 : 120” / 320cm at 16:9 Aspect Ratio
- 25 m2 : 301" / 764.5cm at 16:9 Aspect Ratio
Volume:
- 4.5 m2 : 880ml
- 25 m2 : 5l
Coverage:
- 4.5 m2 : 279 x 157 cm at 16:9 Aspect Ratio
- 25 m2 : 667 x 375 cm at 16:9 Aspect Ratio
Environmental (exceeds all AUS standards): low VOC, solvent free, PFOA & PFOS free and isocyanates free
Odor: Very Low
VOC: Less than 0.44%
Certification: Independent Projection Performance Report – CREST, Gypsum Surface Finish Quality Standard of AUS Level Q4
Not certain which product suits your needs? We support with video calls, live chat, phone, and email. Take advantage of our free technical guidance and creative ideas for product recommendations to help you make the best choice. Confused about installation? We are available to assist and offer advice.
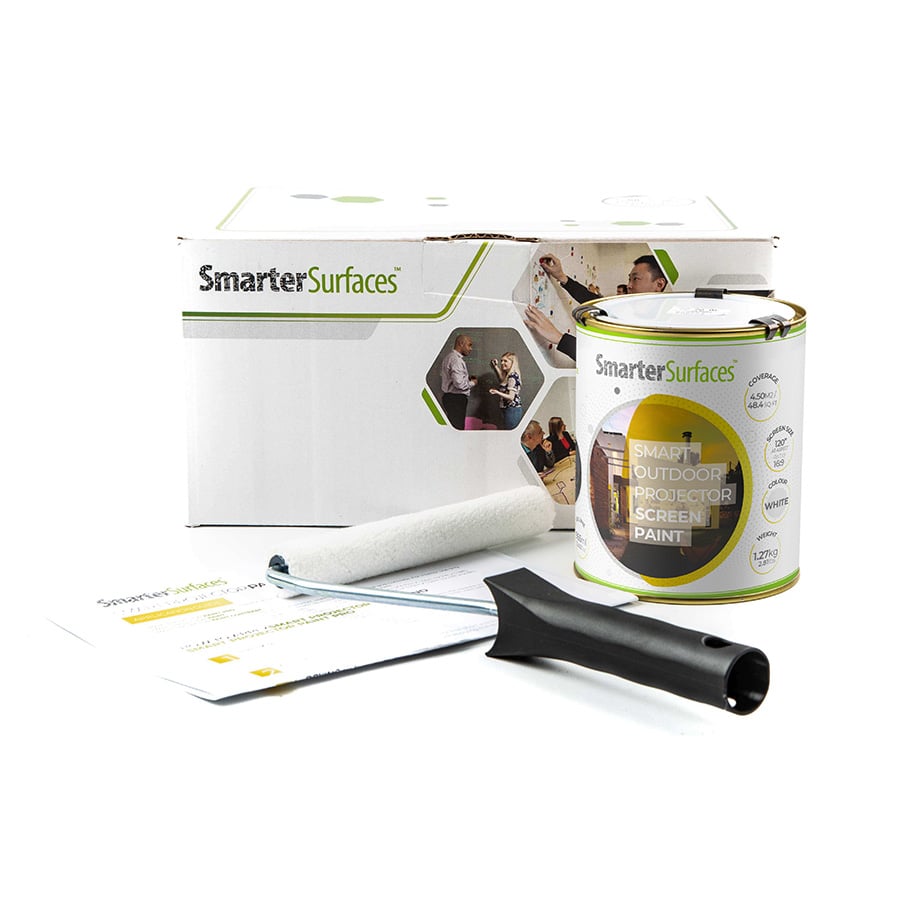
Kit Contents 4.5 m2
- Smart White Projector Screen Paint Pro
- Primer White tin
- Roller Sleeve
- Roller Handle
- Stirring Stick
- Application Guide
Kit Contents 25 m2
- Smart White Projector Screen Paint Pro
- Application Guide
Projector Screen Paint Pro Reviews
Aussie Foods - Canberra
Mary Black - Australian Forest Schools
FM Manager - Royal Australian Airforce
You may also like…


Magnetic Projector Screen Whiteboard Wallpaper
From AUD$482.00 Select options This product has multiple variants. The options may be chosen on the product page
Ambient Light Rejecting Projector Screen Paint
From AUD$318.00 Select options This product has multiple variants. The options may be chosen on the product pageInteractive Projector Screen Paint
From AUD$334.00 Select options This product has multiple variants. The options may be chosen on the product pageOutdoor Projector Screen Paint
From AUD$334.00 Select options This product has multiple variants. The options may be chosen on the product page


FAQ's
It's therefore really important that the projection screen you use does not change the polarity of the light if you are using a 3D projector. All of our paint products are "polarity preserving" which means that the image you see will be exactly the same polarity as is intended, preserving the full 3D effect.
The gain value indicates the number of lumens that the screen can produce. A greater gain number signifies that more light is reflected, resulting in a brighter image on the screen. A reduced gain value leads to diminished light reflection, resulting in a darker image.
The gain value of a screen influences the viewing angle. Screens with high gain exhibit a narrower viewing angle, necessitating that viewers be situated more directly in front of the panel to attain optimal brightness. In contrast, displays with reduced gain provide an expanded viewing angle, allowing observers to perceive a brighter image even when not situated directly in front.
Choosing the right gain is essential and depends on the particular viewing setting and desired viewing experience. Factors including ambient light, screen size, projector luminosity, and seating arrangement all influence the optimal gain for a certain situation.
Blending projections necessitates accurate colour representation, consistent brightness, and excellent light diffusion to ensure smooth transitions between projected images. Our projection screen paint is crafted with these requirements in mind, allowing for a cohesive and immersive display.
For large-scale projections, our projection screen paint eliminates the need for bulky and costly physical screens, offering a more versatile and economical solution for blending projections. Transform any environment into an immersive backdrop where multiple projections converge seamlessly, captivating your audience.
Step 1 Make ready the surface by filling any imperfections with decorator filler, and once it has dried, sand the entire area.
Step 2 Apply two coats of Smart White Primer and once dry lightly sand the surface.
Step 3 Stir the Projector Paint Pro before use and using a link free smooth roller such as mohair apply two coats of the Projector Paint Pro.
Step 4 Allow the Projection Paint Pro to fully dry for 24 hours for best results
The SAC can fluctuate based on the frequency of the sound waves passing through the material. Various frequencies of sound waves exhibit different wavelengths, which can interact with the material in distinct manners. As a result, the SAC values provided represent a spectrum, as the SAC will differ according to the frequency of the absorbed sound waves. In our evaluations, we noted the following outcomes:
Unpainted Board α = 0.04-0.07
Painted Board α = 0.04-0.07
The values listed are for both unpainted and painted 12mm gypsum boards. The α values of 0.04-0.07 for the unpainted and painted boards suggest the range of SAC values for these materials. This signifies that, when sound waves travel through a 12mm gypsum board, some sound energy will be absorbed by the material, with the extent of absorption falling between 0.04-0.07 depending on the sound wave frequencies. However, it also denotes that all our paints are acoustically transparent since there is no change from the standard board to the painted version.
Projector Screen Paint Pro adheres to the most stringent environmental standards. We recommend using the gloves provided in the kit during application, as with any paint product.
Smart White Projector Screen Paint Pro Installation
White Projector Screen Paint Pro is a flexible choice suitable for a variety of surfaces, including plaster, wallboards, metal, concrete, wood, and composites, although it is meant for indoor use only.
Before you start painting with the projector paint, make sure the surface is clean, dry, and free of any loose materials. Measure the area you intend to paint and clearly outline it with masking tape. The paint can cover a maximum area of 279 cm x 157 cm (109.8” x 61.8”).
Start by applying two coats of the included White Primer. Before each coat, lightly sand the surface. Allow the primer to dry completely; this usually takes about 2-4 hours at 20° Celsius, ensuring the surface is smooth before moving on.
Before using the projector paint, stir it well to achieve the best results. To apply the paint, utilize a mohair or lint-free short pile roller sleeve. Apply two coats, allowing the first coat to dry completely before applying the second coat, which also takes around 2-4 hours at 20° Celsius.
If you would like to test the performance of our products, you can request a sample pack.
If you have any questions or need assistance, we take pride in offering outstanding customer service and support. Feel free to contact us.
You can access or download our detailed Application Guide.
![]() A full application guide to help you apply our White Projector Screen Paint Pro
A full application guide to help you apply our White Projector Screen Paint Pro
Smart White Projector Screen Paint Pro installation Video
Watch our step-by-step Video Application Guide
Smart White Projector Screen Paint Pro Videos
Watch our step-by-step Video Application Guide
Whiteboard Paint White for Education
Whiteboard Paint White Case Study
