

Projectable Whiteboard Wallpaper – 2 in 1 Wall Covering
From $250.00
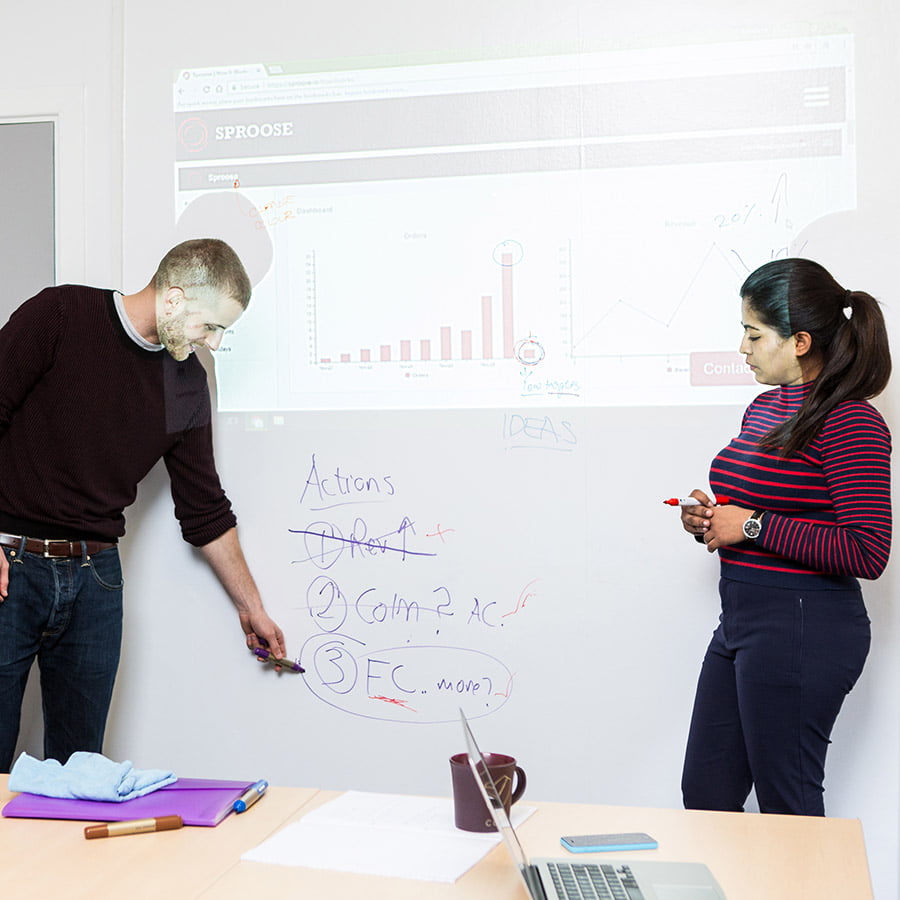
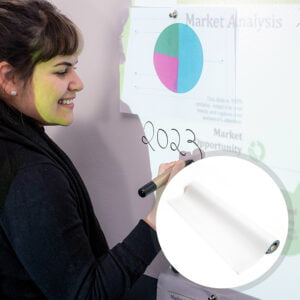
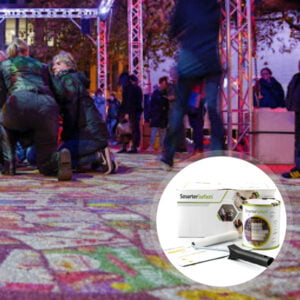
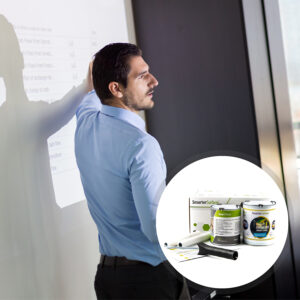
A projector whiteboard wallpaper that turns walls into a dry-erase and projection surface. Ideal for offices, classrooms, & commercial interiors requiring collaborative spaces.
10-Year Guarantee
Gain Value 1.1
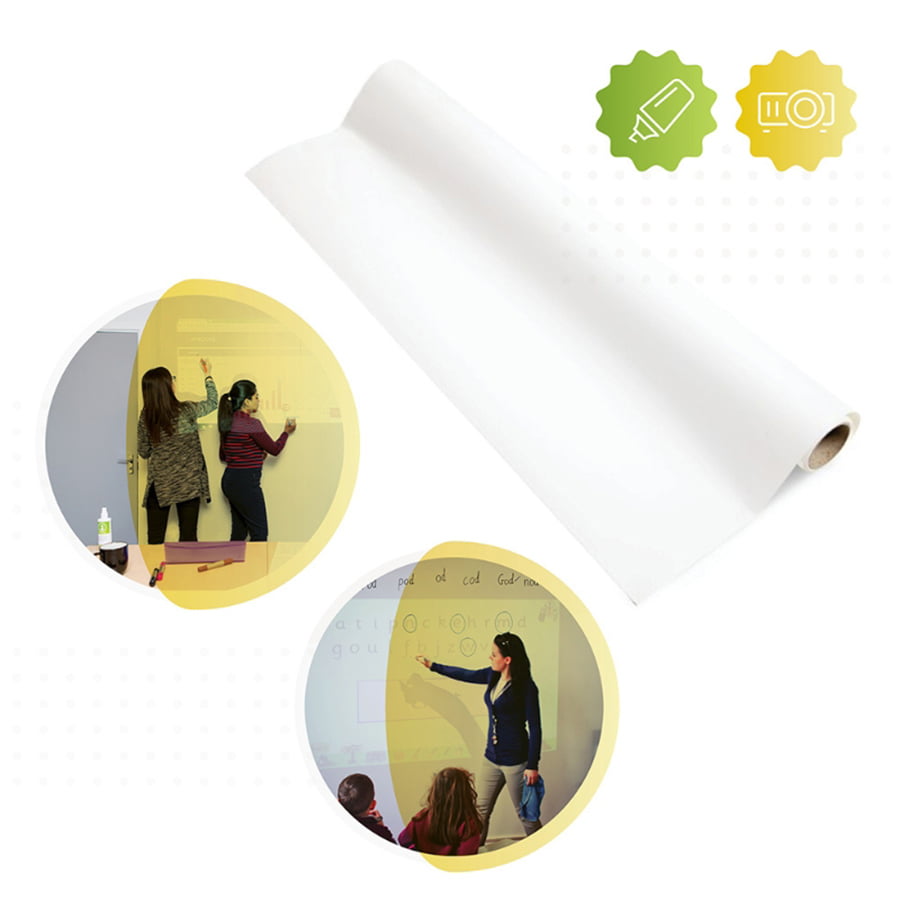
Projectable and Writable
Ready in 48 Hours
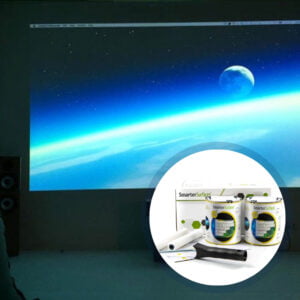
- High-quality projection surface for bright, sharp visuals.
- Commercial-grade durability with no ghosting, no staining.
- Flexible installation on vertical, horizontal, or curved surfaces.
- Certified fire-resistant (Class A), suitable for commercial interiors.
Secured Transaction

Easy Returns
Free Shipping above $179.00
Buy now, pay later with Stripe

Why to Choose Projector Whiteboard Wallpaper
Designed for spaces that need both presentation clarity and writable functionality without installing separate boards and screens.

Quick Install, Dual Use
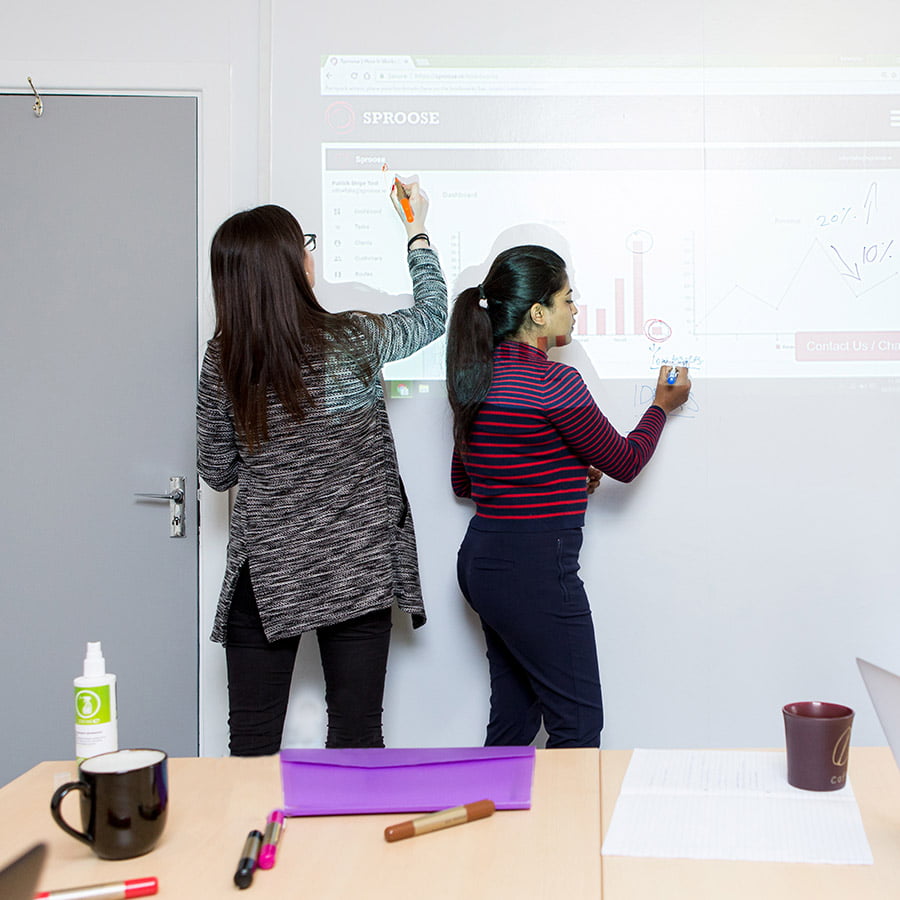
This dual-purpose wallpaper turns walls into writable and projectable collaboration surfaces.

Boost Creativity & Productivity
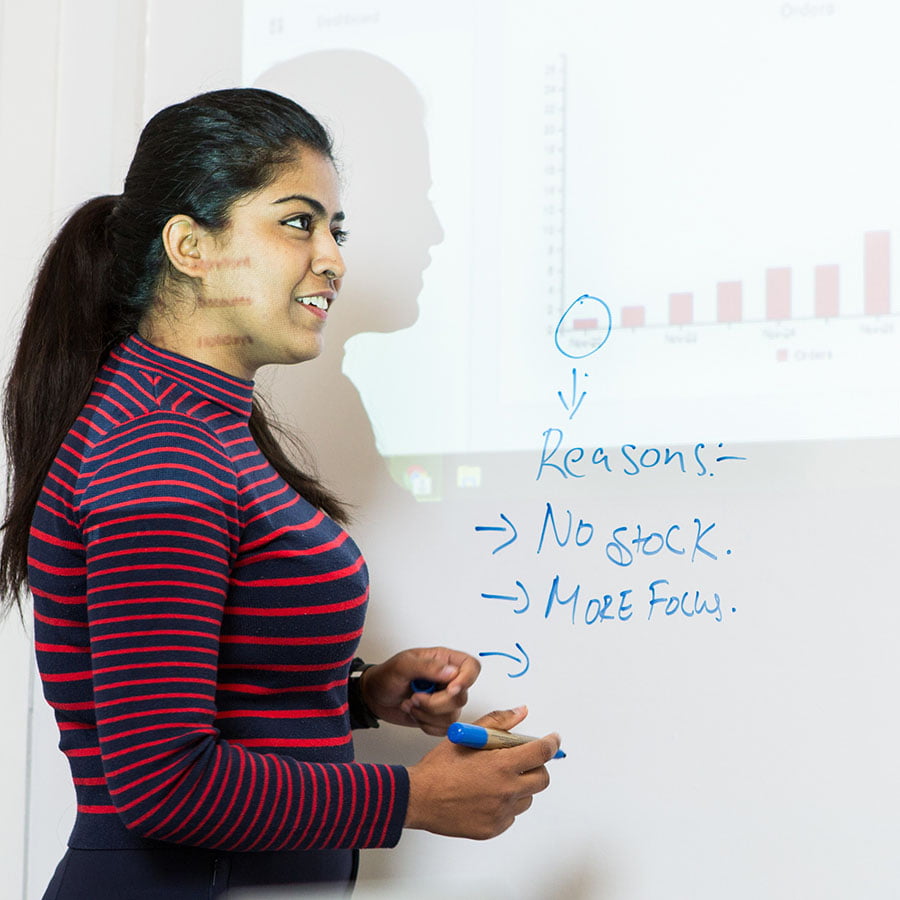
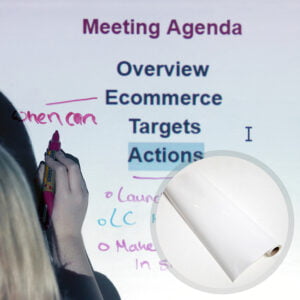
Project, display, and write directly on the surface for seamless creativity and productivity.

Smart Interactive Spaces
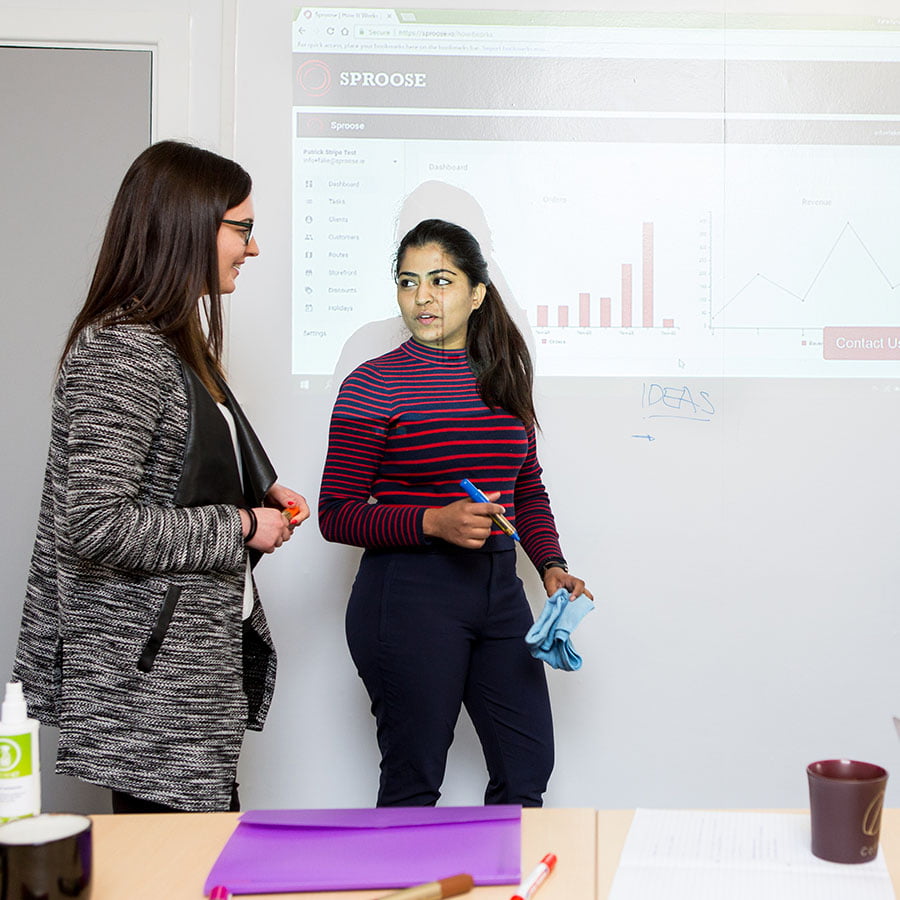
Turn smooth surfaces into writable, projectable spaces for better collaboration.

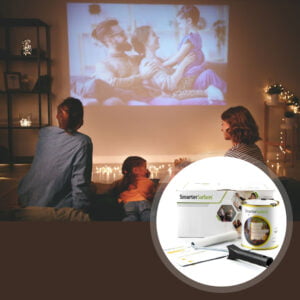
High-Quality Projection
Low sheen finish reduces glare and offers a stain-resistant, non-ghosting surface.

Environmentally Friendly
VOC-free, solvent-free, and isocyanate-free, it applies safely in the presence of people.
Technical Specifications
Product Colour
White (RAL: 9016)
Product Finish
Low Sheen
Gloss Measurement
41 GU at 60 degrees
Gain Value
1.1 at a viewing angle of 120 degrees
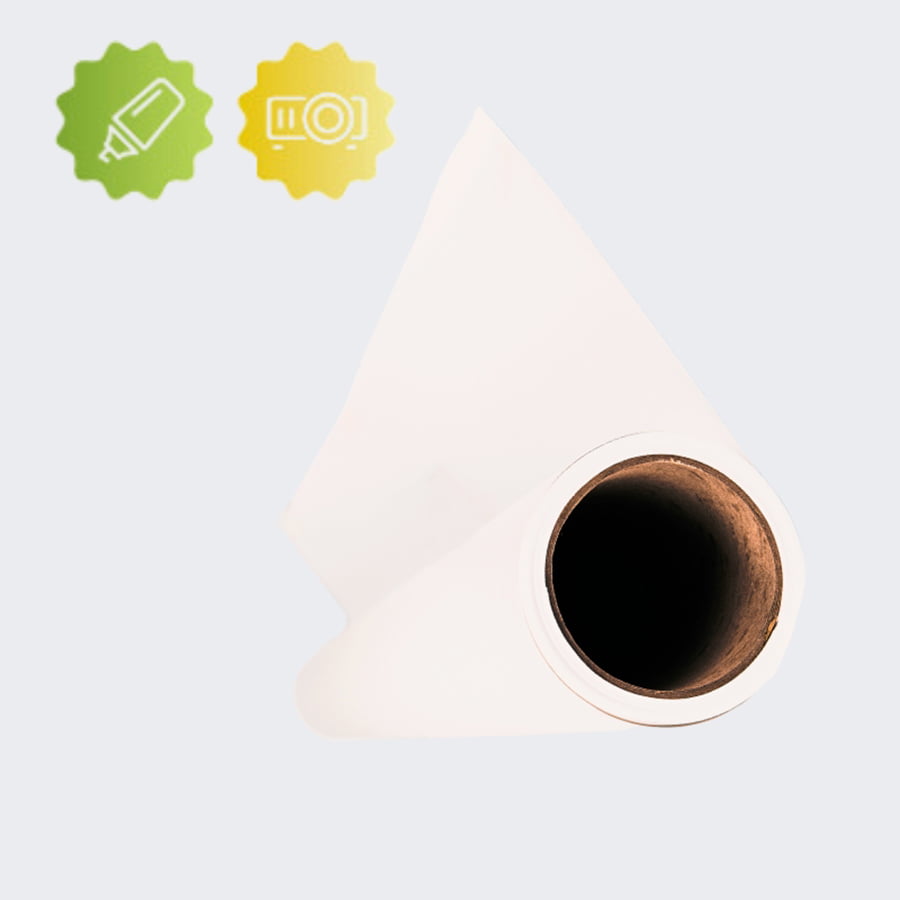
Material Thickness
0.75mm”
Lighting
Normal ambient lighting
Performance
Dry Erase & projection with bright, sharp projection performance
Odour
None
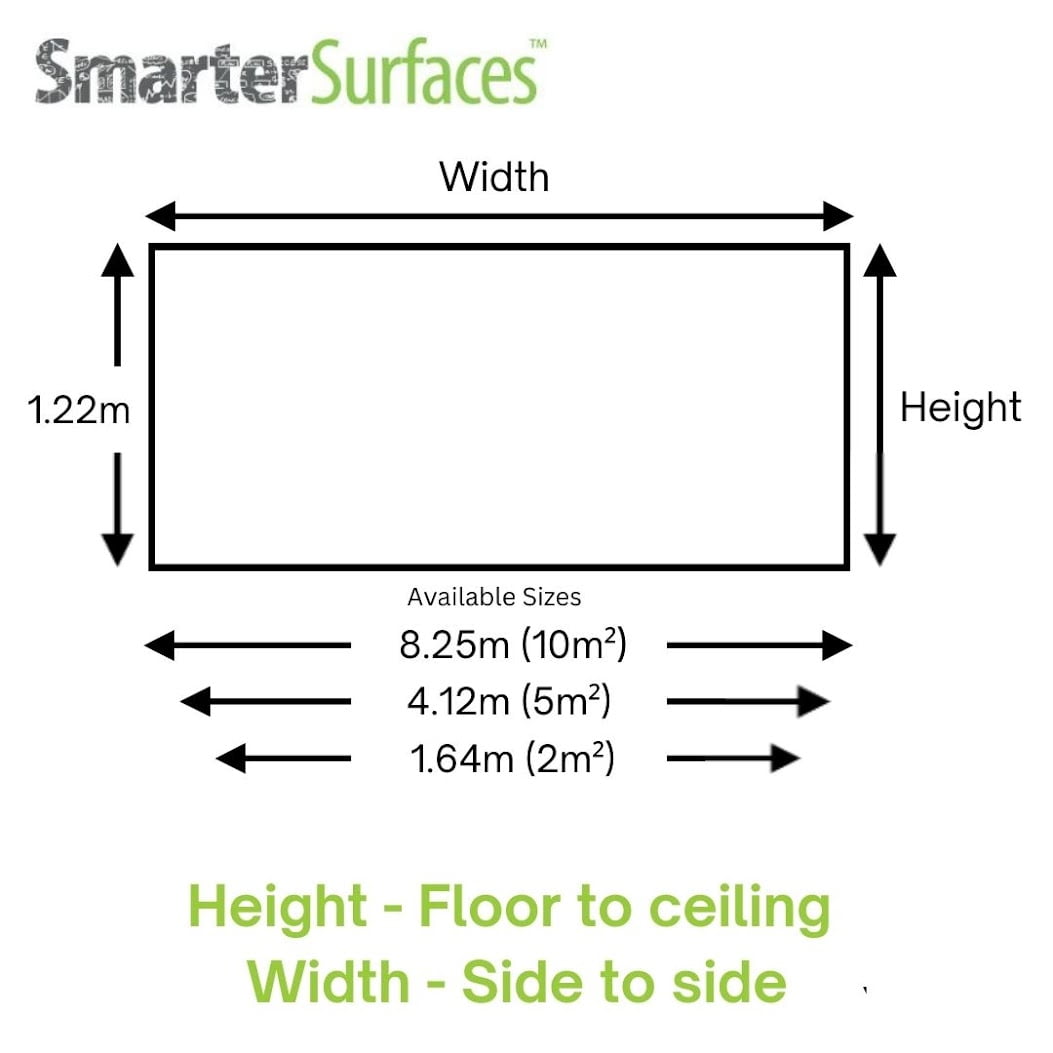
Coverage / Dimensions :
- 10m² / 1.22m x 8.25m
- 5m² / 1.22m x 4.12m
- 2m² / 1.22m x 1.64m

10m² & 5m²
- 1 x Dry Erase Projection Wallcovering
- 1 x Surface Sticker
- 1 x Application Guide
- 1 x Wallpaper Spatula
- 1 x Pair of gloves
- 1 x Microfibre Eraser
- 1 x 12m² Adhesive Tube (optional)
2m²
- 1 x Dry Erase Wallpaper
- 1 x Microfibre Eraser Cloth
- 2 x Adhesive Tubes
- 1 x Application Guide

Certification
Independently certified for fire resistance (Class A) and projection performance.
Manufactured to meet Australian environmental and safety standards.
Environmental
(exceeds all Australian standards): VOC-free, solvent-free, PFOA & PFOS-free and isocyanate-free

We work with a network of global courier services to offer you the best shipping options available. If you place your order before 12.30pm GMT on Monday to Friday, our warehouse will process your order the same day. Orders placed after 12.30pm GMT, will be processed on the next working day. Orders made on Saturday and Sunday are processed on Monday morning.
Estimated Delivery (Working Days):
AUS:
- Express: 2-3 days
- Free Shipping above $179: 5-6 days
For other locations, delivery times may vary. Click here
Use Cases

Offices
- Meeting rooms
- Boardrooms
- Training spaces
- Collaboration zones

Education
- Classrooms
- Lecture halls
- Seminar rooms
- Interactive spaces

Commercial
- Conference venues
- Showrooms display
- Control rooms
- Creative studios

Home
- Home offices
- Study rooms
- Media rooms
- Living rooms
Not sure if Projector Whiteboard Wallpaper is right for you?
Get expert advice before you buy.
If you need a seamless projector dry-erase board wall covering that combines presentation clarity with everyday writing performance, this solution eliminates the need for separate whiteboards and projector screens.
How to Apply Projector Whiteboard Wallpaper
Follow these simple steps for a professional installation.

Step 1 - Surface Preparation
Ensure the surface is smooth, clean, and free of debris. Fill cracks and sand imperfections.

Step 2 - Prime if Required
Prime only if the surface is absorbent or untreated.

Step 3 - Apply Adhesive
Roll two coats of adhesive directly onto the wall, allowing the first coat to dry before applying the second.

Step 4 - Install Wallpaper
Apply like standard wallpaper. Use the provided spatula to remove air bubbles and ensure smooth adhesion.
Step 5 - Cure
Wipe down the surface with a damp cloth to remove any leftover adhesive. Allow 48 hours before use.
Watch Our Step-by-Step Video Application Guide
Suitable Surfaces
Transform any smooth surfaces into collaborative spaces
Plaster & Wallboards
Concrete & Masonry
Wood & MDF
Metal & Doors
See the Transformation
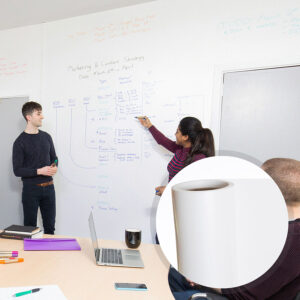
View real before-and-after examples of projector whiteboard wall covering in use.


Customer Testimonials
See how teams, schools, and businesses use projector whiteboard wallpaper to create interactive spaces.
Case Studies
Explore how projector whiteboard wallpaper enhances office fit-outs, school classrooms, and commercial spaces.

EPIC Museum: Transforming Heritage with Projection Mapping

Use Projector Wallpaper Not Screens

SAP Transforms Walls Into Creative Spaces
FAQ's
General Product Questions
Can Projection Whiteboard Wallpaper be applied to any surface?
Our projector writable wallpaper is designed to be applied to smooth surfaces. They can also be applied to curved walls. Ensure all debris and previous wallpapers have been removed. Absorbent surfaces should be treated with a primer before application.
Are there different sizes available?
Yes, Projector Whiteboard Wallpaper is available in 2m², 5m², and 10m² options. Custom sizes are also available. Select the wallpaper size as per your requirement.
Application & Usage
What type of projector can be used with Whiteboard Wallpaper - Low Sheen?
Whiteboard Wallpaper - Low Sheen is suitable for use with most projectors, including ultra, short-throw and interactive projectors.
Can you paint or apply projection wallpaper on top of magnetic plaster?
Yes, you can apply projection wallpaper on top of your magnetic plaster.
Is reflection an issue with this surface?
If you spot a ‘hotspot’ or glare, then just try adjusting your projector’s position slightly to resolve it.
For a dual-purpose solution that works as both a projector screen and a writable surface, we recommend Smarter Surfaces Projector Whiteboard Wallpaper - Low Sheen.
Also, if your primary focus is top-quality projection performance, explore our selection of specialised projection paints designed for optimal clarity and brightness.
Surface Prep & Priming
Can Projection Whiteboard Wallpaper be used to create a whiteboard surface?
Yes, Projection wallpaper is a dual-function projectable writable wallpaper and is used as a whiteboard surface and a projection surface.
Do I need to prime the surface before applying Projection Wallpaper?
Only absorbent surfaces should be treated with a primer before application. If it's previously painted, then no primer is required.
Cleaning & Maintenance
How do I clean Projector Whiteboard Wallpaper?
Clean the surface using a dry or slightly damp microfibre cloth for everyday use. For deeper cleaning, use a standard whiteboard cleaning spray to maintain optimal writing and projection performance. If permanent marker or stubborn stains occur, use a permanent ink remover designed for whiteboard surfaces.
Is alcohol safe for cleaning Whiteboard Wallpaper - Low Sheen?
Think twice before using alcohol. Regular application of alcohol can compromise the durability of the surface and thus diminish its performance. So make sure to stick with our tailor-made cleaning solutions for achieving optimal results. Explore Smarter Surfaces full range of surface-safe cleaning products for long-term brilliance.
Can I use permanent markers on the surface?
No, permanent markers and Projector Whiteboard Wallpaper don’t mix well. However, if you have accidentally used one, then don't worry. Smarter Surfaces Permanent Ink Remover. can help erase the mishap.
How can I remove permanent marker marks?
Simply trace over the permanent ink with a regular whiteboard marker, wait a couple of minutes, and then simply wipe it off.
However, if the marker stain still lingers, then try using Smarter Surfaces Permanent Ink Remover. It is specially formulated to tackle stubborn stains, ghosting, and mishaps effortlessly.
Functionality & Performance
What are the gloss levels/measurements of Projector Whiteboard Wallpapers?
Projector Whiteboard Wallpaper has a gloss level of 41 GU at 60 degrees.
Safety & Environmental
Is Whiteboard Projection Wallpaper safe?
Yes, whiteboard projection wallpaper is very safe; it is VOC-free, solvent-free, PFOA & PFOS-free and isocyanate-free. It also has independent certification for Fire Class A - ASTM E84 and Projection Performance Report - CREST
Featured Blogs
Learn how projection whiteboard wallpaper compares to traditional whiteboards and projector screens.


