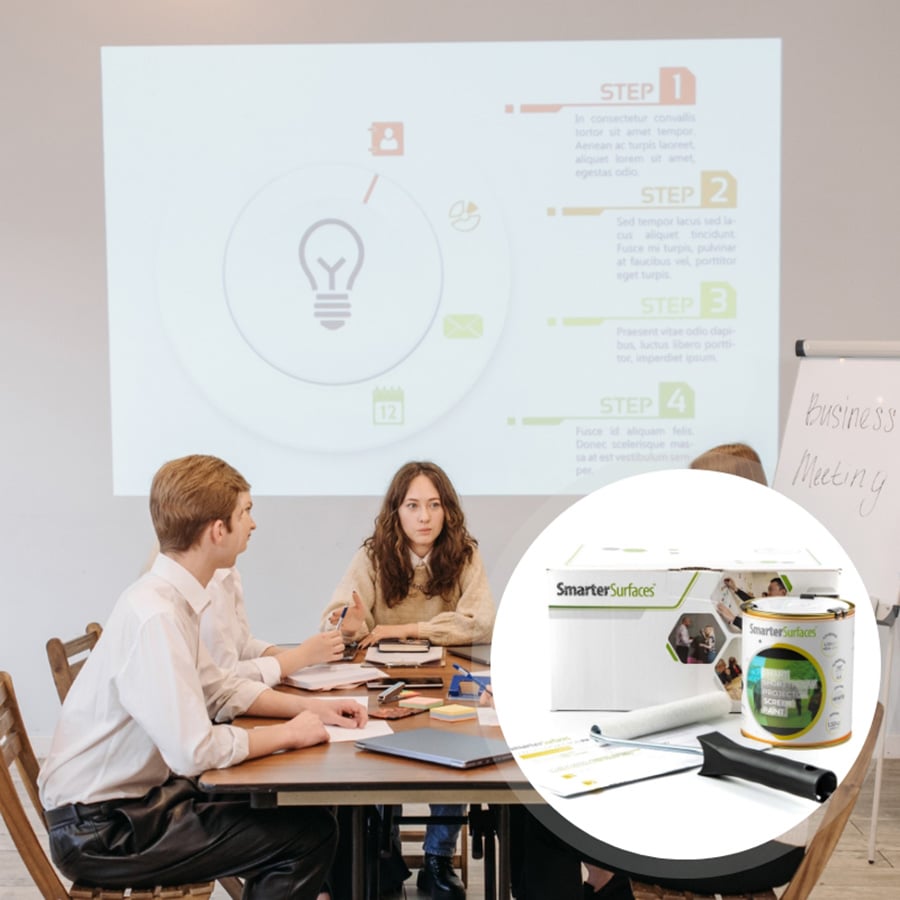


Short Throw Projector Screen Paint
From $254.00
5-year product guarantee
4K & 8K Ultra HD ready
Eliminates Hotspots
Ready-to-use in 24 hours
- Suitable surface: fabrics, wallboards, metal, concrete, & plaster
- Eco-friendly: Low VOCs, solvent-free, and free from PFOA, PFOS, and isocyanates
- Works in rooms with low to high-level ambient light
- Simple application steps with 2 coats
Secured Transaction

Easy Returns
Free Shipping above $179.00
Buy now, pay later with Stripe
Why Choose Ultra Short Throw Projector Screen Paint
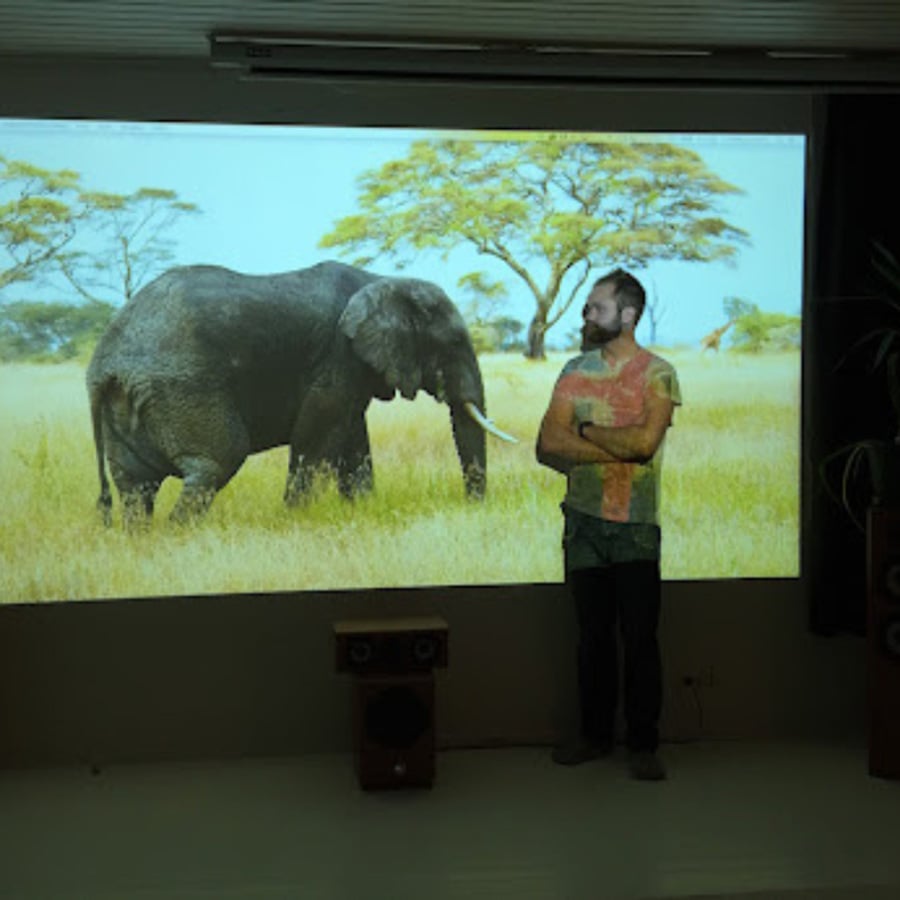
Remove the clutter of projector screens with Ultra Short Throw Projector Screen Paint and minimize set-up requirements.

Image Quality
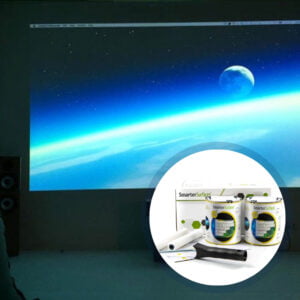
Delivers sharp visuals up to 4K Ultra HD resolution.

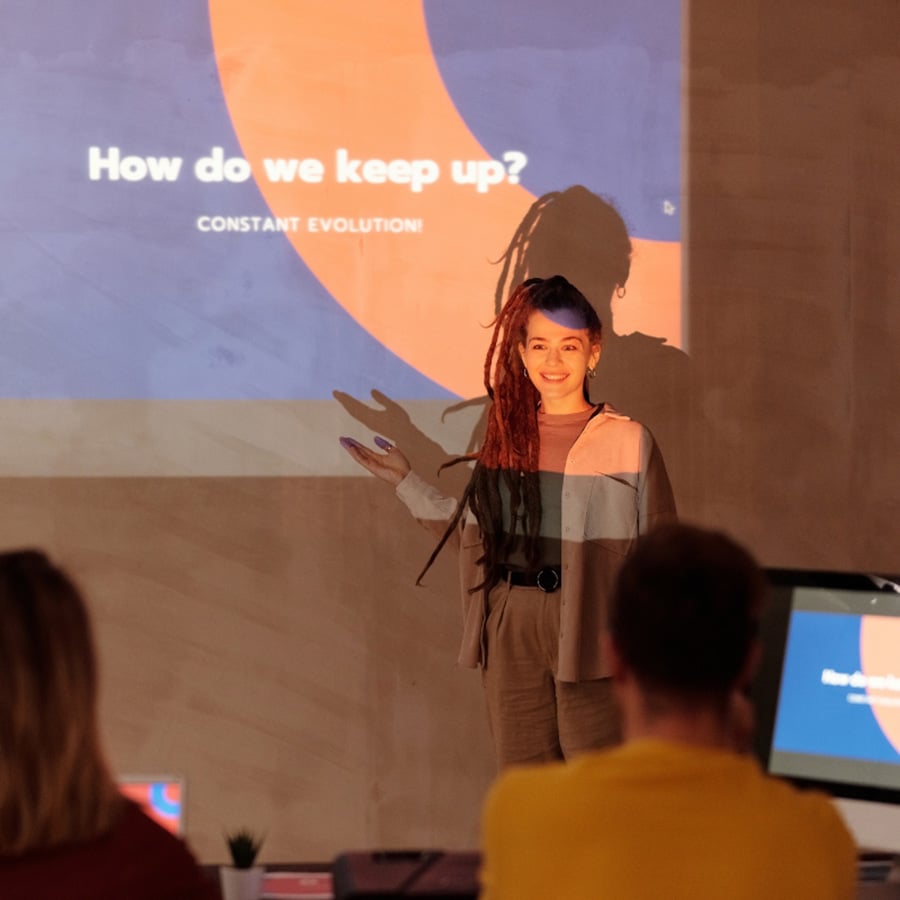
Ambient Light
Performs crystal clear in normal to high ambient light.

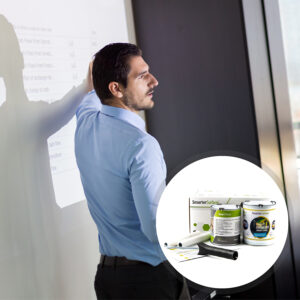
No Bulky Screens
Removes screen clutter and streamlines setup for productivity.

Eco-Friendly & Safe
Low VOC, solvent-free, and isocyanate-free for safer everyday application.

Easy Application
Apply just two coats and it's ready to use within 24 hours.
Technical Specifications
Finish
Matt
Color
White
VOC
Less than 0.09%
Odour
Very Low
Performance
4K & 8K Ultra HD Ready
Gain Value @ 90°: 1.21
Viewing Angle: 140 degrees
Projector Requirements
Standard, HD, and 4K Projector
Minimum Recommended Lumen Value
1,000 Lumens
Screen Size / Coverage:
- 4.5 m² (880ml) : 279cm x 157cm (120” / 320cm) at 16:9 Aspect Ratio
- 25 m² (5l) : 667cm x 375cm (301" / 764.5cm) at 16:9 Aspect Ratio
Leading Projectors: Epson, BenQ, Sony, Panasonic, LG, and Optoma Projectors
Lighting: Works in most rooms with low to high level ambient light

4.5 m²
- Ultra Short Throw Projector Screen Paint
- Roller
- Roller handle
- Stirring Stick
- Application guide
25 m²
- Ultra Short Throw Projector Screen Paint
- Application guide

Certification
Independent Projection Performance Report – CREST
Gypsum Surface Finish Quality Standard of EU Level Q4
Environmental
(exceeds all AUS standards): Low VOC, Solvent-free, PFOA & PFOS free, and Isocyanate-free

We work with a network of global courier services to offer you the best shipping options available. If you place your order before 12.30pm GMT on Monday to Friday, our warehouse will process your order the same day. Orders placed after 12.30pm GMT, will be processed on the next working day. Orders made on Saturday and Sunday are processed on Monday morning.
Estimated Delivery (Working Days):
AUS:
- Express: 2-3 days
- Free Shipping above $179: 5-6 days
For other locations, delivery times may vary. Click here
Use Cases

Offices
- Workspace
- Boardrooms
- Meeting rooms
- Presentation halls

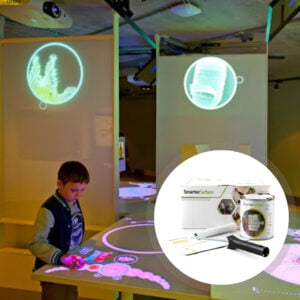
Education
- Classrooms
- Auditoriums
- Lecture halls
- Museums and galleries

Hospitality
- Hotels and resorts
- Conference halls
- Exhibition centres
- Rooftop venues

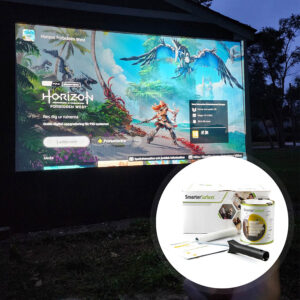
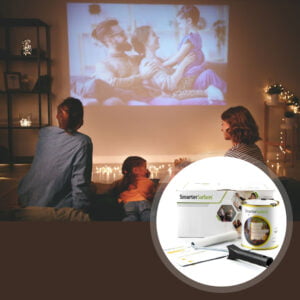
Home
- Home theatres
- Entertainment rooms
- Event spaces
- Garage area
Not sure if Short Throw Projector Screen Paint is right for you?
Need help choosing the right product?
Want to try before you buy? Request a sample pack from us to experience the product’s performance firsthand, and we'll be happy to send it to you.
Our expert support team is available to guide you through video call, live chat, phone, or email. Get in touch with us anytime, and we’re happy to help.
How to Apply UST Projector Screen Paint
If you are looking to seamlessly blend multiple projections for large-scale displays, our ultra short throw projectors paint is the perfect choice.

Step 1 - Surface Prep
Surface should be clean, dry, and free from dust or debris. Sand the surface if required.

Step 2 - Apply Primer
Apply two coats of White Primer for bare, untreated surfaces.

Step 3 - Apply Paint
Stir the projector paint before use. Apply two coats. When first coat is dry, apply second coat.

Step 4 - Drying Time
Recommended drying time between coats of paint is 2–4 hours at 20°C. Let the surface dry for 24 hours before use.
Watch Our Step-by-Step Video Application Guide
Suitable Surfaces
Transform any smooth surfaces into collaborative spaces
Masonry and Structural
Wood Based
Metal
Advanced Materials
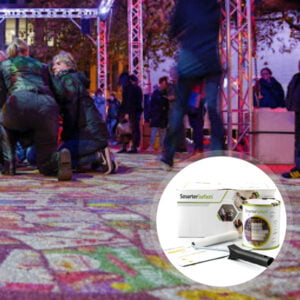
See the Transformation
Before & After Makeover Using Ultra Short Throw Projector Screen Paint


Customer Testimonials
Hear directly from customers who transformed boring walls into a projection surface with Ultra Short Throw Projector Screen Paint.
Case Studies
From home office to boardrooms, see how projector screen paint has improved the setup.

EPIC Museum: Transforming Heritage with Projection Mapping

Use Projector Wallpaper Not Screens

SAP Transforms Walls Into Creative Spaces
FAQ's
General Product Questions
What type of lighting works best with Ultra Short Throw Projector Screen Paint?
For achieving the most optimal performance, we recommend using Ultra Short Throw Projector Screen Paint in normal to high ambient lighting. It’s essentially designed to deliver crisp, clear visuals even in well-lit spaces.
Why do Smarter Surfaces make Acoustically Transparent Projection Paints?
Our Projection Paints are acoustically transparent, meaning they don't interfere with sound absorption. Testing on a 12mm gypsum board showed identical Sound Absorption Coefficient (SAC) results of 0.04–0.07 before and after painting, confirming that sound quality remains completely unaffected in any space.
What is gain value, and why is it important for projector screens?
Gain value measures how much light a screen reflects compared to a standard white screen (gain 1.0). It directly affects image brightness and viewing angles — high gain screens produce brighter images but with a narrower viewing angle, while low gain screens offer wider angles with slightly dimmer results. Choosing the right gain depends on your room, lighting, and audience size.
Is a higher gain always better, and how do I choose the best gain for my projector?
It’s not necessary that higher gain is always better. While higher gain produces brighter images, it narrows the viewing angle and can cause uneven brightness for off-centre viewers. A balanced gain of 1.0–1.3 suits most setups.
To choose the right gain, consider your room brightness, audience size, and projector strength — high gain works best in bright rooms with smaller audiences, while low gain suits larger crowds and dimmer settings.
Surface Prep & Priming
Is it compulsory to prime the surface before the application process of Ultra Short Throw Projector Screen Paint?
For the best performance, we recommend applying Ultra Short Throw Projector Screen Paint on a previously primed or painted surface. If you are working with a bare, untreated surface, it’s essential to apply a coat of White Primer first. This helps create a smooth, uniform base that enhances the projection quality.
Can Short Throw Projector Screen Paint be applied to fabrics?
Yes, Short Throw Projector Screen Paint can be applied to fabrics. However, it is not suitable for roll-up screens or heavily textured surfaces.
Cleaning & Maintenance
How can I remove projector paint from my skin?
If the paint comes into contact with your skin, simply wash it off with warm, soapy water. There’s no need for harsh solvents; just a quick rinse will do the trick.
What should I do if I accidentally spill the paint?
If Ultra Short Throw Projector Screen Paint is spilled, then wipe it up immediately with water before it dries. The same applies to cleaning your tools. Simply rinse brushes and rollers with water straight after use to prevent the paint from hardening.
How do I clean my Projector Screen for Short Throw?
To keep your projector screen for short throw in a flawless and pristine condition, simply wipe it down with a dry or slightly damp cloth. Avoid using harsh chemicals or abrasive materials, as they may damage the smooth surface.
Functionality & Performance
What are the pros and cons of choosing a high gain screen?
High gain screens deliver clear visuals in bright spaces, improve contrast in dark settings, reduce glare, and outperform fabric screens by blocking ambient light. But, they come with limitations, like a narrower viewing angle, which means off-centre viewers experience reduced brightness, making them less ideal for large crowds or flexible seating arrangements. They also perform poorly in outdoor or uncontrolled lighting conditions.
What are the pros and cons of choosing a low gain screen?
Low gain screens are ideal for larger audiences, offering wider viewing angles, even light distribution, and a comfortable indoor viewing experience. However, they do have limitations, like it struggles with brightness in outdoor settings, reflect less light overall, and may deliver lower contrast levels, slightly reducing image sharpness.
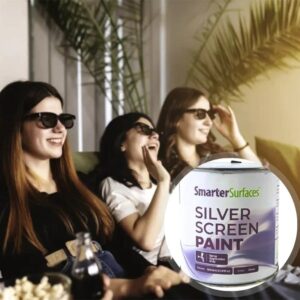
How does projector screen for short throw paint preserve 3D polarity?
3D projectors work by displaying two images with unique light polarities, filtered through 3D glasses to create depth perception. Any interference with light polarity ruins the 3D effect. Our Short Throw Projector Screen Paint is 100% polarity-preserving, ensuring crisp, immersive, and true-to-life 3D visuals every time.
Safety & Environmental
Is Short Throw Projector Screen Paint non-toxic and safe to use?
Yes, rest assured, Short Throw Projector Screen Paint is completely safe to use. It is low in VOCs, solvent-free, and free from PFOA, PFOS, and isocyanates.
Additionally, it complies with the highest environmental and safety standards, therefore making it safe for use in homes, offices, and even educational spaces.
Does UST Projector Screen Paint contain isocyanates?
Not at all. UST Projector Screen Paint is 100% free of isocyanates. Unlike some lower-quality alternatives that contain harmful chemicals requiring strict safety measures, our paint is completely safe for general use.
What personal protective equipment should I mandatorily use while applying the paint?
For safety and ease of application, you must ensure to wear the gloves that are provided in the kit. It’s also recommended to use safety glasses to protect against accidental splashes, and as with any painting process, the room should be well-ventilated to allow proper airflow.
Is Ultra Short Throw Projector Screen Paint fire-resistant?
Yes, Ultra Short Throw Projector Screen Paint is completely fire-resistant and non-flammable. It meets all fire safety certifications, thus making it suitable for use in schools, offices, and commercial spaces. It has a high flashpoint of over 158°F (70°C), ensuring a safe and reliable finish.
Is it safe to apply UST Projector Screen Paint around people?
Yes. UST Projector Screen Paint is completely safe to apply in indoor environments, even when others are around. It is low odour, low VOC, and free from isocyanates, therefore making it a safe choice for offices, homes, and classrooms.
Featured Blogs
Explore tips and tricks for creating a premium projection screen on any surface.


