by administrator | Apr 4, 2024 | Case Studies
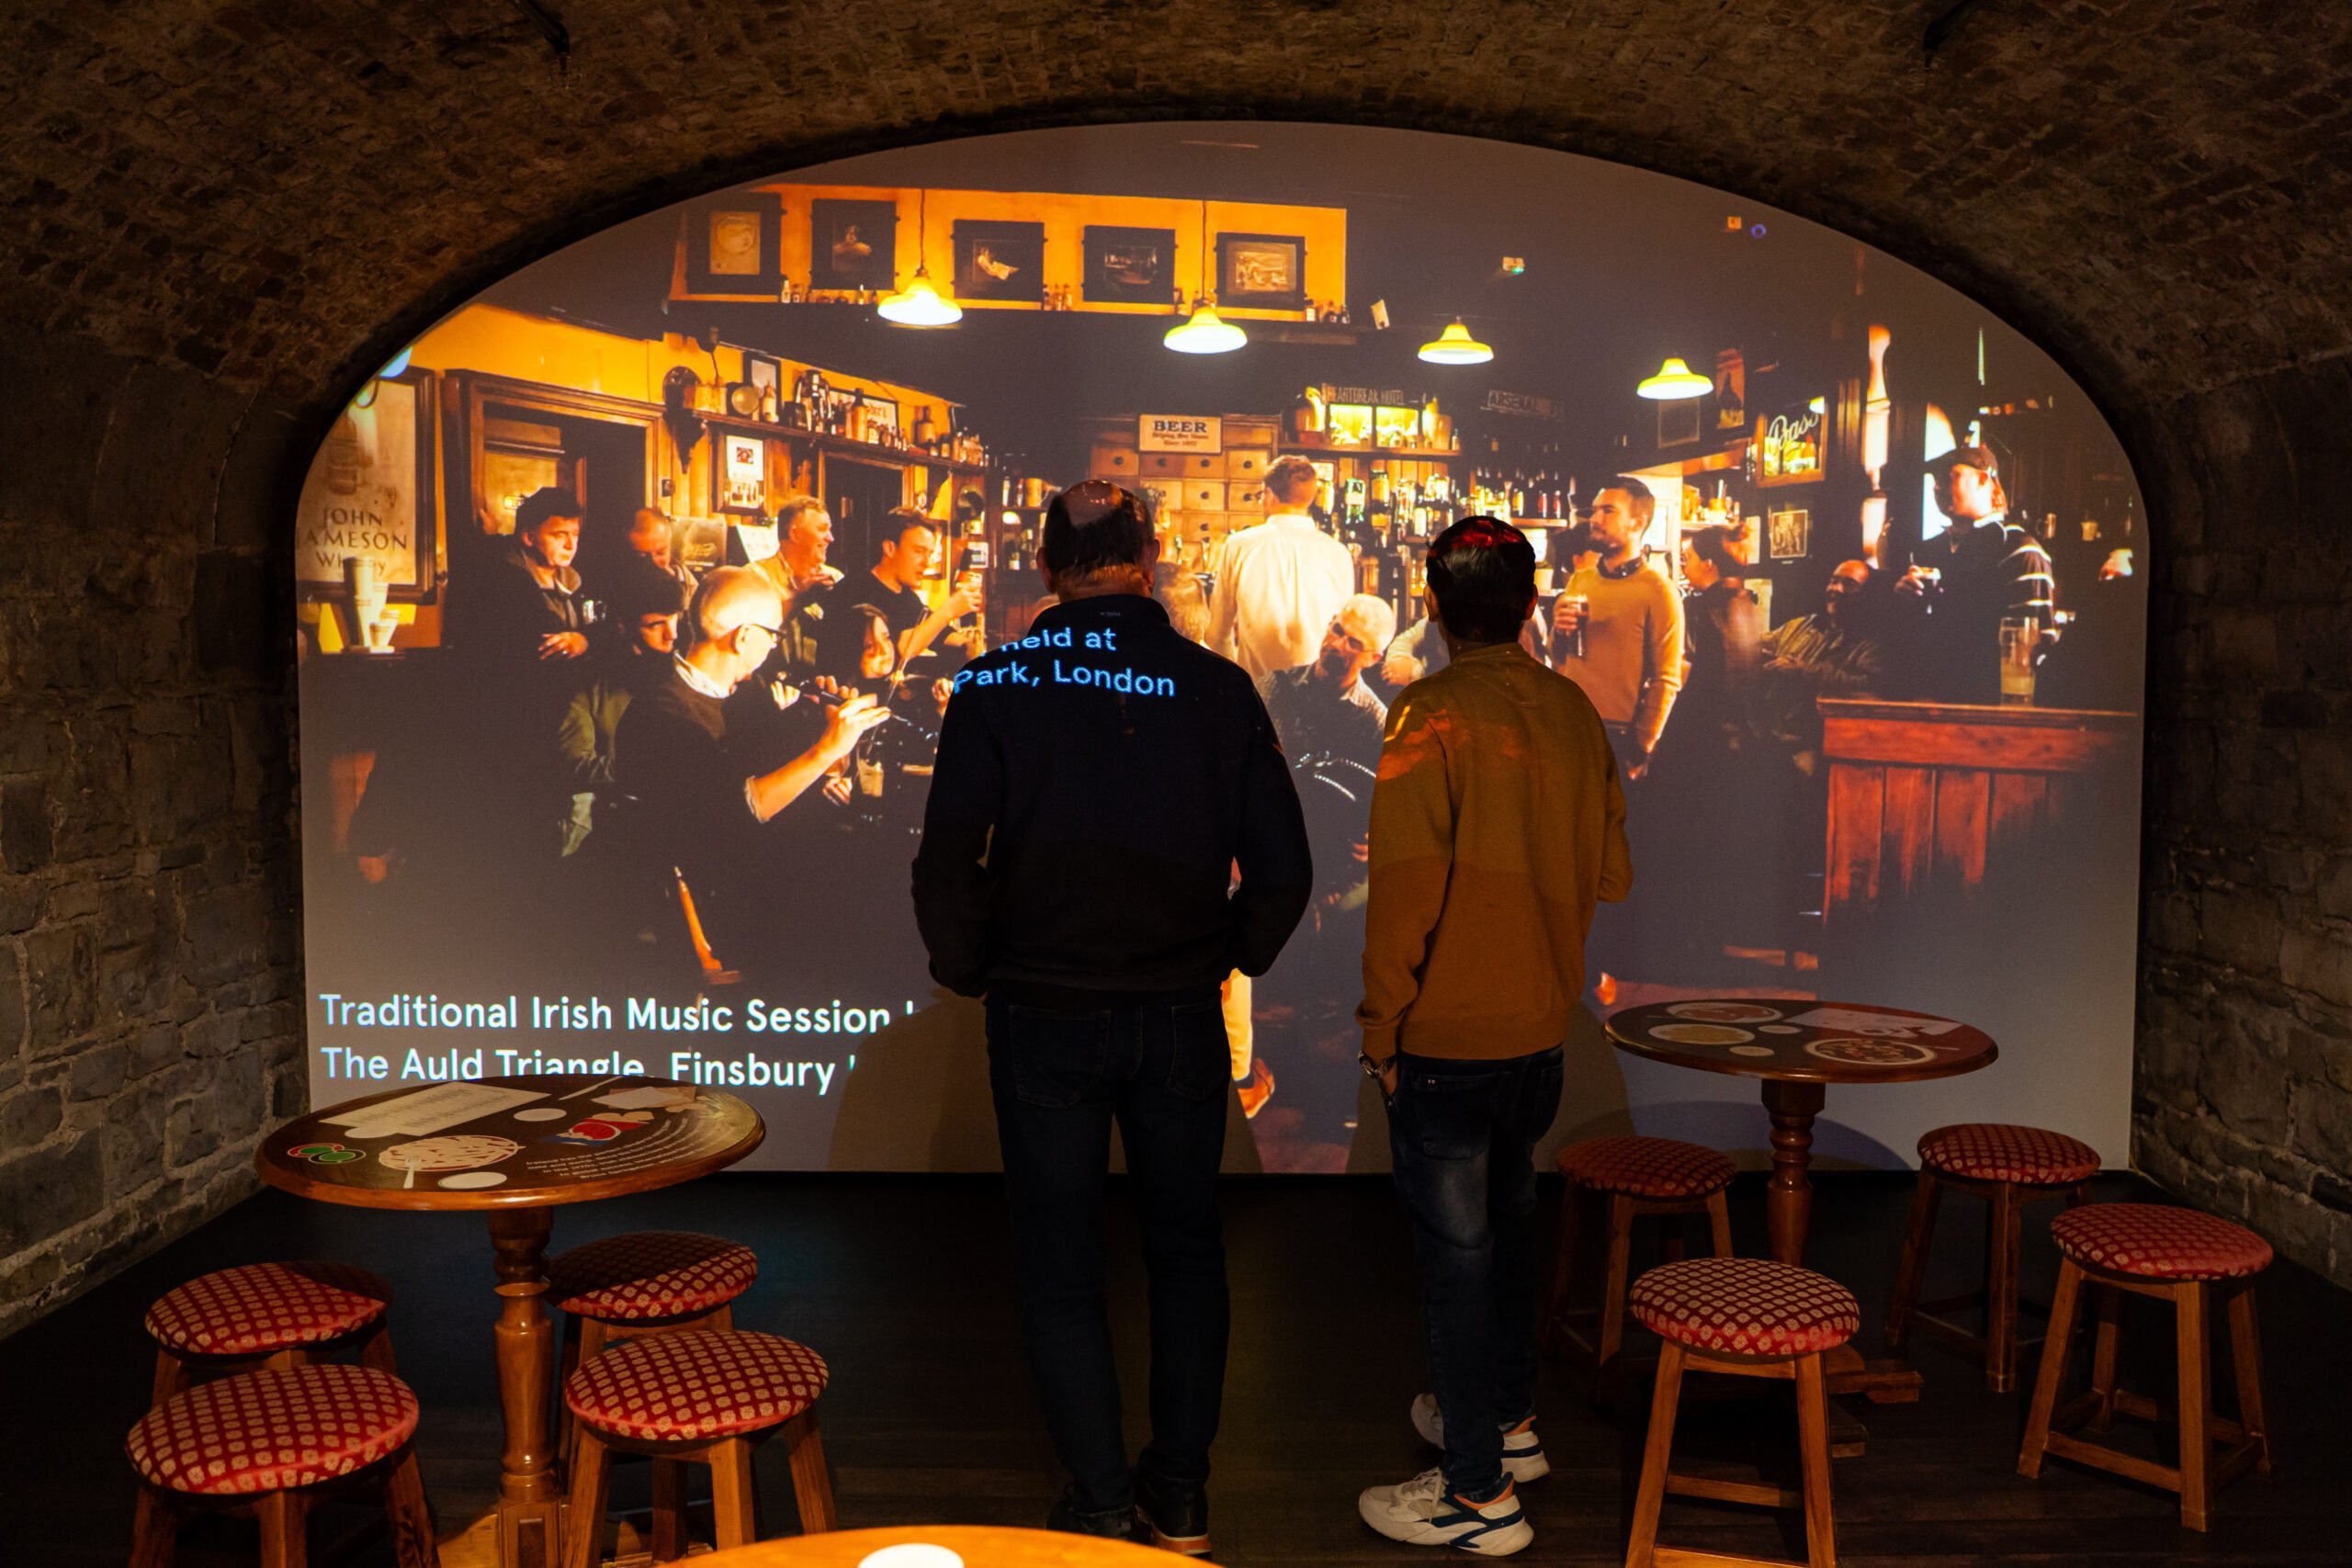
EPIC, the Irish Emigration Museum, located in the heart of Dublin is a beacon of cultural heritage and innovation in Ireland. The museum has been awarded Europe’s Leading Tourist Attraction for three consecutive years: 2019, 2020 and 2021, using projection mapping to enhance visitors’ visits and create an immersive experience.

EPIC has twenty immersive display galleries and explores the narrative of Irish emigration, studying its global cultural impact. The museum is housed within the historical setting of a former customs warehouse, which has been restored to host this innovative and modern exhibition space.
Smarter Surfaces create innovative surface solutions that promote both collaboration and immersive environments. Our range of projector paints are specifically designed to transform any wall into a high-quality projection surface. They were chosen to transform the way stories are told within exhibit spaces. The collaboration between EPIC and Smarter Surfaces aimed to go beyond traditional display limitations, setting a new standard for projection mapping immersive visitor experiences.
Telling Stories in a Unique Space
The EPIC Irish Emigration Museum had a unique challenge. They needed to tell a story and create a truly engaging, immersive experience for their visitors. Traditional screens posed limitations in size and interactivity. This was restricting the museum’s ability to present their stories in the compelling manner they envisioned. The goal was to transform the way visitors interacted with the exhibits through projection mapping, using our projection paints.
As EPIC Museum is housed within an historical structure, we needed to preserve the integrity of the surroundings. At the same time we needed to integrate modern technology. EPIC were looking for a solution that could blend seamlessly with their exhibits. It also needed to get around the constraints imposed by conventional display screens and projectors.
The aim was to create a continuous, uninterrupted visual flow throughout the galleries. This would allow the stories of Irish emigration to naturally unfold within the spaces.
Smarter Surfaces’ Solution
In response to these challenges, the museum turned to Smarter Surfaces. Our cutting-edge projector paints offer an innovative solution for projection mapping. EPIC wanted to use our specially formulated paints to convert the walls of the exhibition space into expansive, high-definition projection mapping surfaces.
Smarter Surfaces product range includes our Ultra High Contrast Projector Screen Paint. It is engineered to enable high-quality projections on any surface and was an ideal fit for EPIC’s requirements. It meant that any area of the museum’s galleries could become a dynamic canvas to tell the story of Irish emigration. The paint can support superior image quality, up to 4k, and wide viewing angles to create the desired immersive experience.
The implementation process involved an application of the projector paints onto the museum’s unique wall surfaces. This required a tailored approach due to the intricate nature of the historical building’s interior architecture. The Smarter Surfaces team worked closely with the museum’s exhibit designers to ensure that the application of the paint would serve its functional purpose for projection mapping, but also maintained the presentation of the exhibits and the space.
This innovative solution provided by Smarter Surfaces enabled EPIC to surpass the limitations of screen size and aspect ratios, offering a versatile and engaging medium that brings the tales of Irish emigration to life. The result was a series of interactive displays that allowed visitors to step into a world where history and technology converge, offering a sensory-rich educational experience.
Surface Setup for Projection Mapping
Measure & Mark: We began by accurately measuring the area intended for the application of the projector paint. After determining the dimensions for the projection mapping areas, any parts not to be painted were masked.
Preparation: Any parts of the exhibit that weren’t being painted were covered. Then, the museum’s walls were prepared to ensure the optimal application of the projector paint. This stage was crucial to achieve a smooth finish that would not distort the projected images. Any imperfections on the surfaces were filled and sanded to create a smooth and flat surface.
Application: Smarter Surfaces’ team then proceeded with the application of the Ultra High Contrast Projector Screen Paint. This paint was selected for its superior reflective qualities and compatibility with the museum’s various lighting conditions to ensure optimal projection mapping.
Calibration: Following the application, we tested and calibrated the installation. EPIC employees state-of-the-art projectors, and the positioning was fine-tuned to maximise the impact of the images and to ensure the projections were clear, bright, and vibrant from every angle of the room.
Integration: The final step involved integrating the new projection surfaces into the museum’s existing exhibition design. This included adjusting the visual content to fit the unconventional shapes and sizes of the painted walls, ensuring a seamless blend between the projection mapping and the physical environment.
Outcome
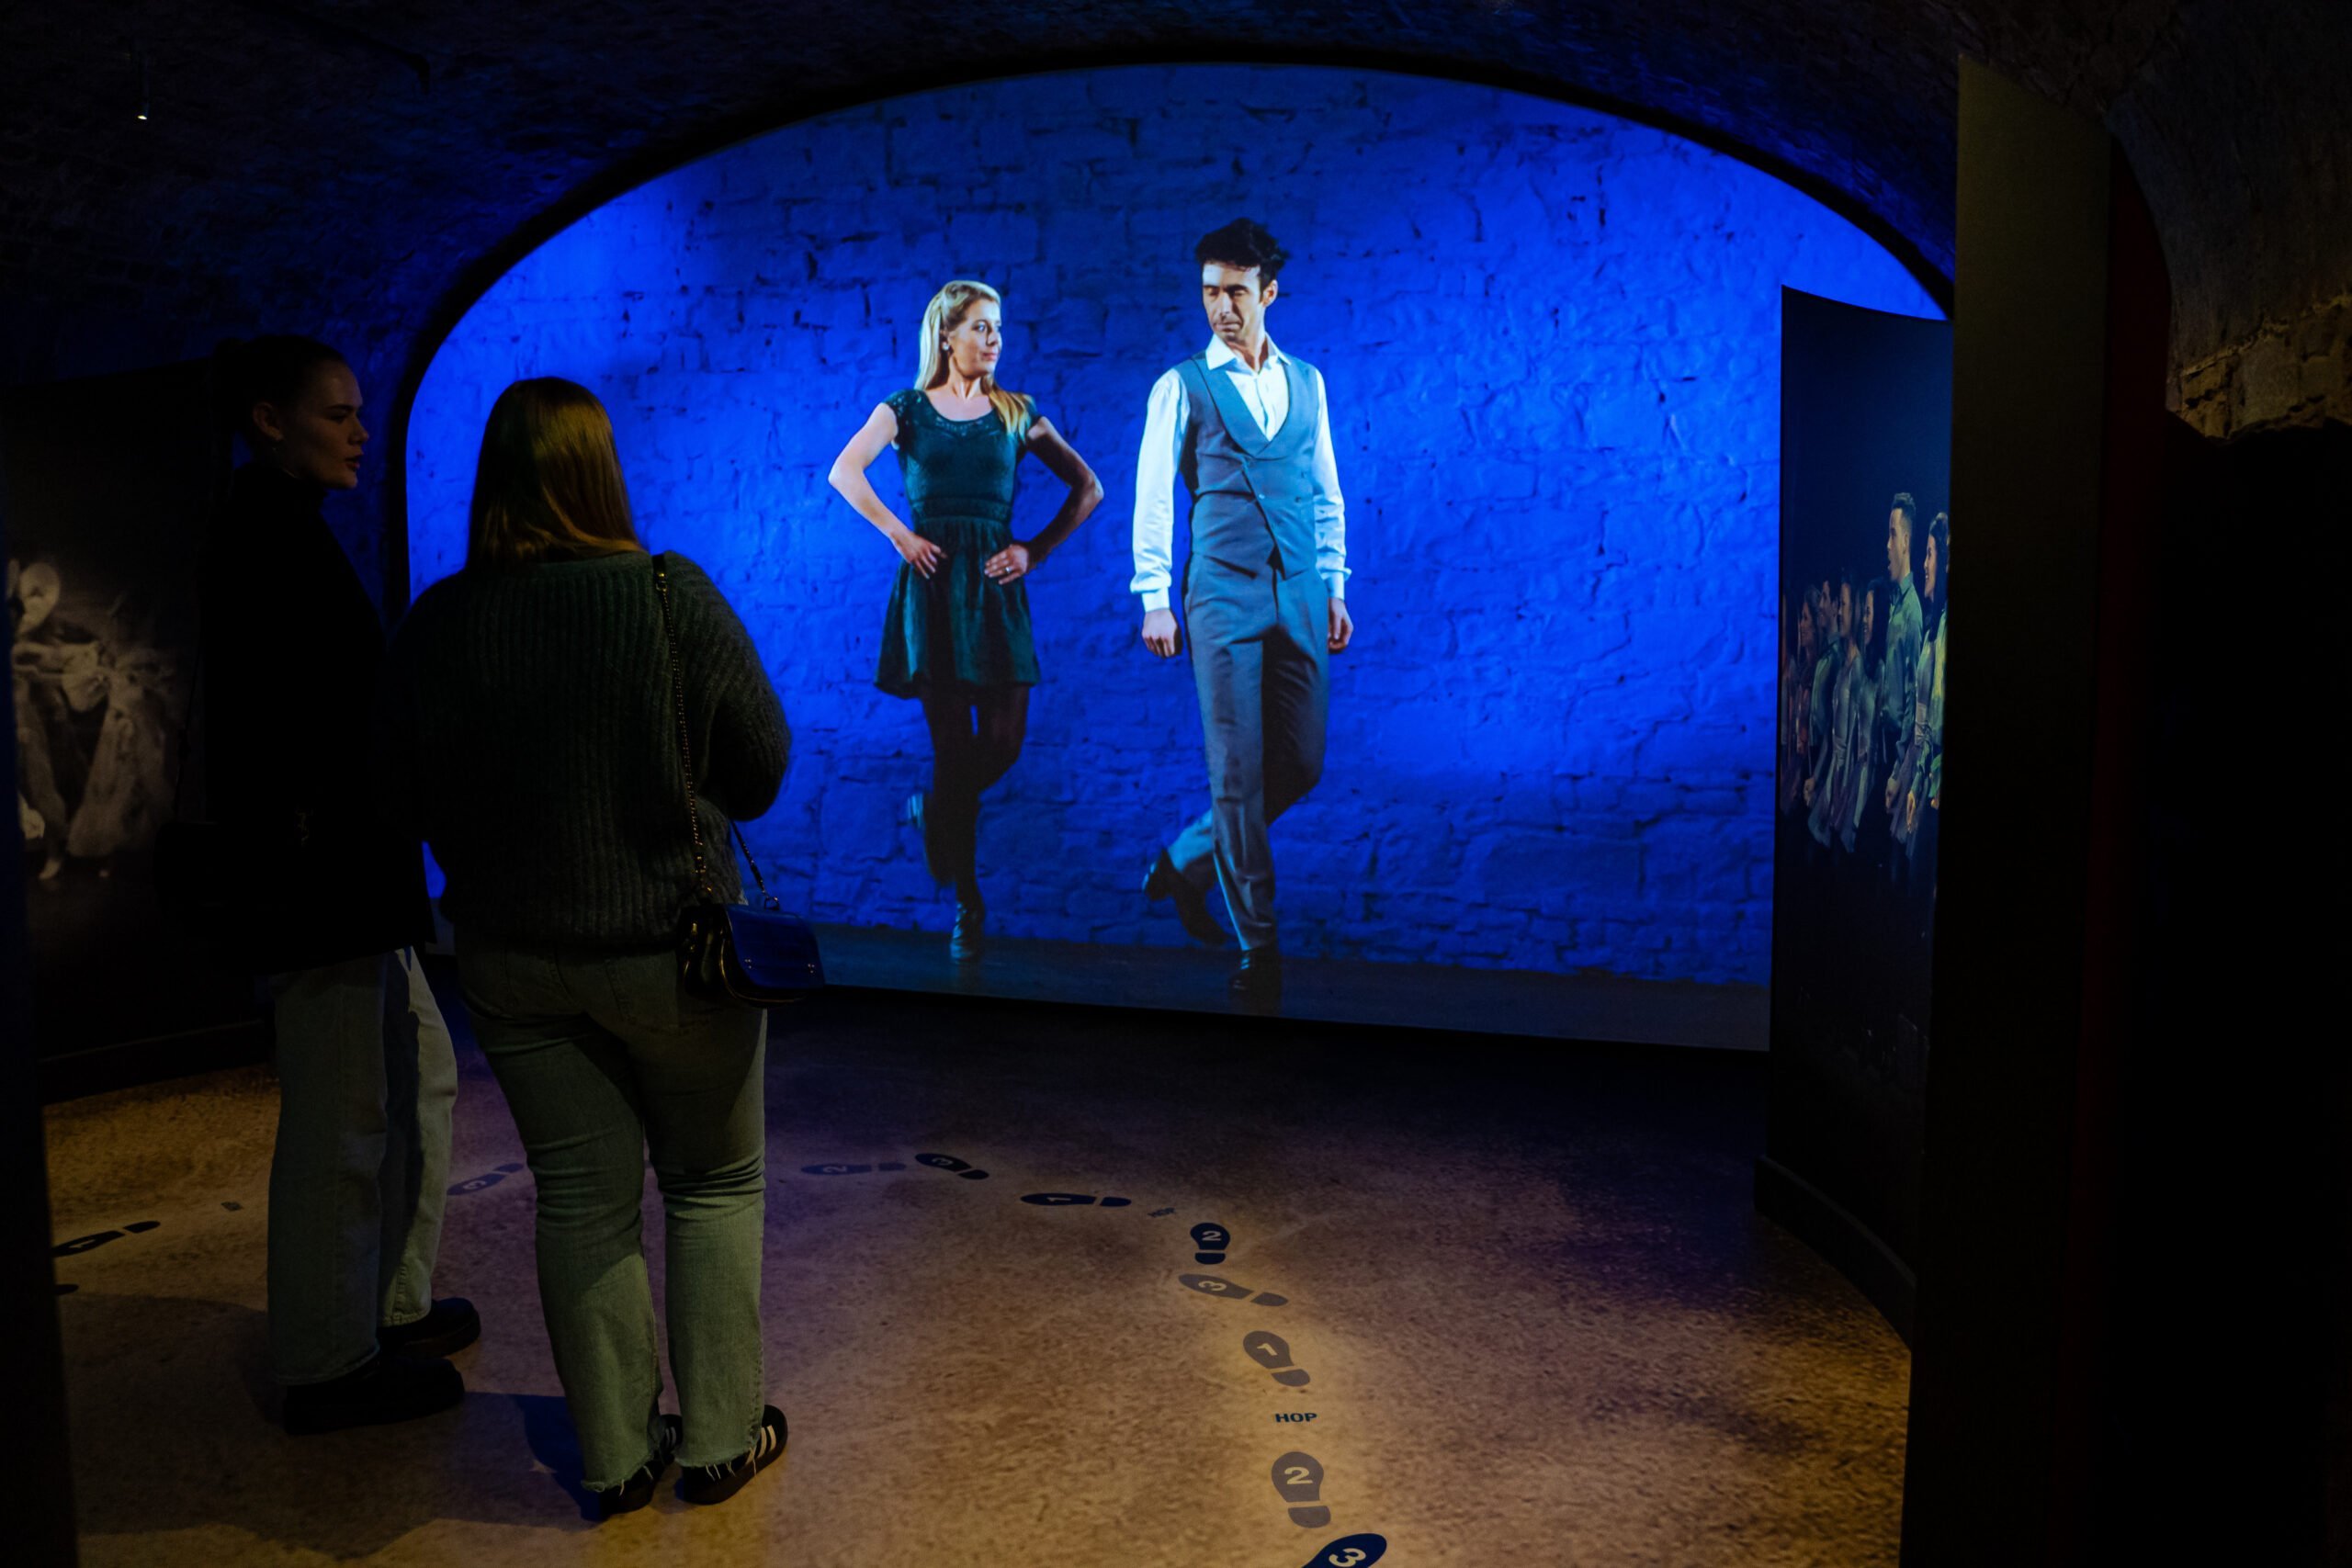
The outcome of integrating Smarter Surfaces’ projector paints at EPIC The Irish Emigration Museum was immediate. Visitors to the museum were greeted with the large-scale, high-definition projections that bring the history of Irish emigration to life. The innovative use of Smarter Surfaces technology provided a canvas that is more expansive and interactive for projection mapping when compared to traditional display methods.
The museum’s exhibitions were transformed into a continuous visual journey, without the breaks and limitations of physical screens. This immersive experience allowed the stories, images and data to be presented in a manner that was both educational and engaging. Feedback from visitors was overwhelmingly positive, with many expressing amazement at the seamless integration of visual technology into the historical space.
The flexibility of the projection paint means that EPIC can now update and change their projection mapping without being constrained by the size or shape of digital displays, ensuring that the museum remains at the cutting edge of exhibition design.
Future Spaces
The successful collaboration between EPIC The Irish Emigration Museum and Smarter Surfaces has demonstrated that innovative solutions can be seamlessly integrated into heritage environments. The application of Smarter Surfaces’ projector paints at EPIC has not only enhanced visitor engagement but has done so while preserving the historical essence of the museum’s space.
EPIC’s forward-thinking strategy provides a blueprint for how museums and educational spaces can leverage advanced technologies to their advantage. The versatility of Smarter Surfaces’ projection paints present numerous possibilities for its application. These projection paints can overcome traditional spatial constraints, offering new ways to create interactive and compelling narratives within any environment. Architects and designers now have the tools to build with interactivity in mind, envisioning spaces that are built to actively engage people.
At Smarter Surfaces, we think our partnership with EPIC is a testament to the value that our products can bring to exhibition design. Institutions can present their content in novel ways that engage, educate, and endure in the memories of their audiences. It’s not just limited to the heritage sector. Corporate offices, educational facilities, and even retail spaces can adopt this technology to enhance their environments, making walls and surfaces a dynamic element of their interaction with visitors, customers, and employees.
Get In Touch with Us
The product advisors and industry experts at Smarter Surfaces are ready to answer any question you may have regarding whiteboard paints, magnetic paints, wallpapers, and projection paints.
You can book a free video consultation with us where you show us the wall you want to transform, talk to us about your goals, and we will help you find the most effective products for the purpose.
by administrator | Oct 29, 2018 | Blog

Functional surfaces are a great addition to any learning environment. They promote interactive and collaborative learning, allowing students to visualise their lesson material better.
Just like in the classroom, functional surfaces can also benefit your school staffroom.
In this post, we’ll explore how a magnetic whiteboard can enhance the overall functionality of a classroom and staffy room setting.
What is a magnetic whiteboard?
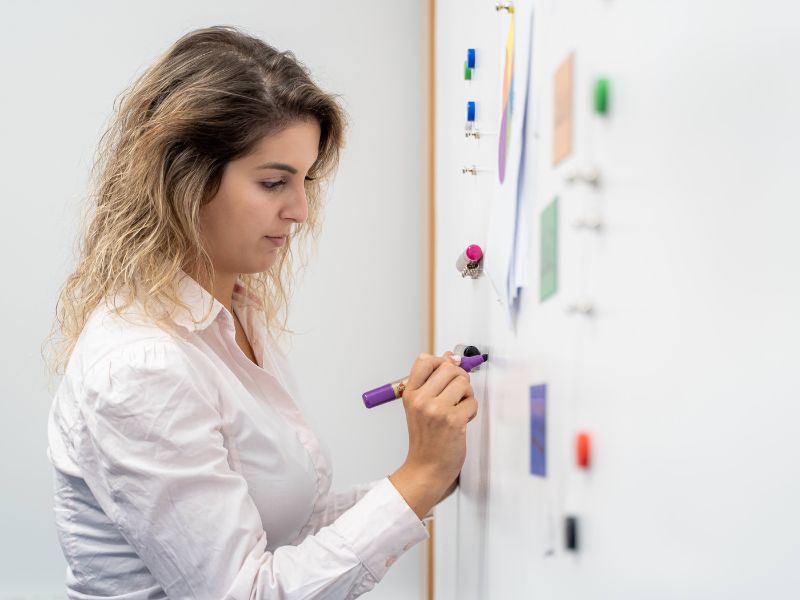
A magnetic whiteboard is a writable surface that attracts magnets. So, apart from writing on it with dry-erase markers, you can stick papers, cards, photographs, etc. to it with good-quality magnets.
What are the best ways to get magnetic whiteboards?
Depending on where you want to have your magnetic whiteboards you can either use magnetic whiteboard paint or magnetic whiteboard wallpapers to create magnetic whiteboard surfaces in your school.
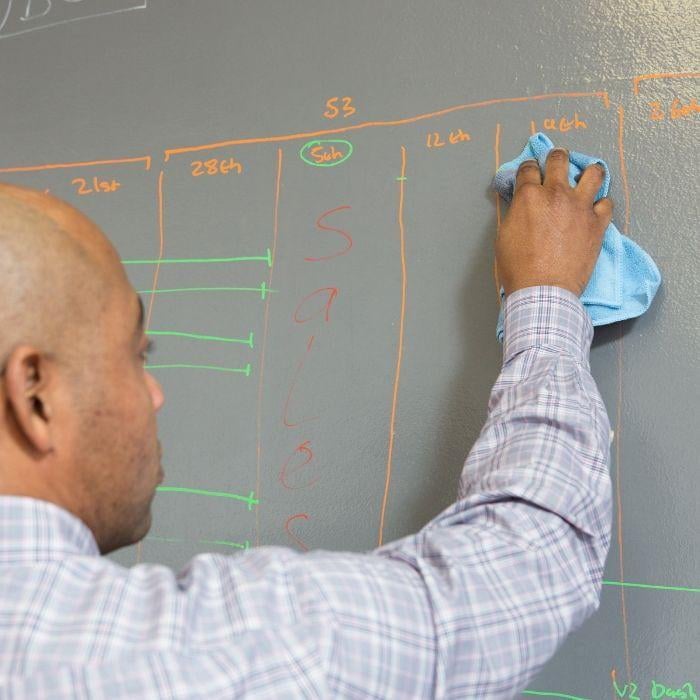
You can use magnetic whiteboard paint to create dry-erase magnetic walls, convert old chalkboards into magnetic whiteboard surfaces, and create writable magnetic walls in any colour. You can use magnetic plaster instead of magnetic paint to get a superior magnetic pull. The magnetite content in the paint gives ferrimagnetic properties to any surface.
The magnetic whiteboard wallpaper is also suitable for all the above purposes except creating transparent magnetic whiteboards.
What are the benefits of having a magnetic whiteboard in a staffroom?
There are a whole range of possibilities that open up with the installation of a supercharged collaborative tool such as a magnetic whiteboard. We’ll explore some of the possibilities here.
Better scheduling
With so many facilities and equipment, it can be hard to keep track of who is using the school gym or TV at any given time.
Instead of printing out a schedule of which staff member will be using which facility at a certain time, why not just write it up on your magnetic whiteboard wall?
This way if any changes need to be made to the schedule you can easily do so.
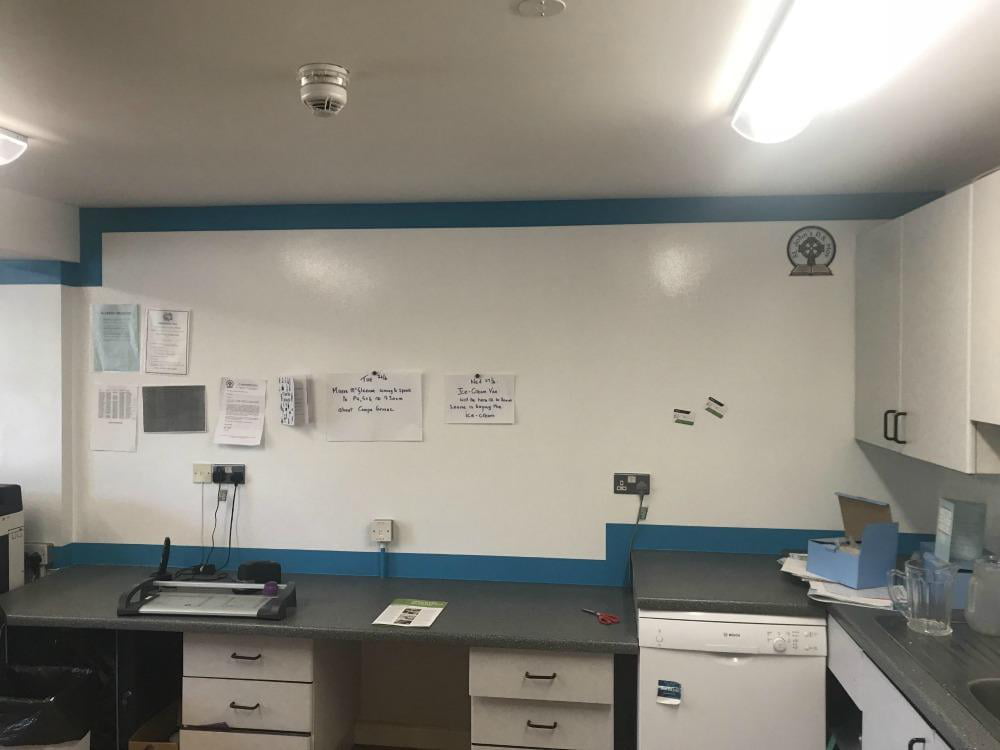
The staff at St. John’s Primary School wanted a way to better organize their days, so they decided to create a magnetic whiteboard surface in their staff room.
To do this, they combined Smart Magnetic Paint and Smart Whiteboard Paint.
Now they can organise and manage their day most efficiently.
Replace thumbtacks with magnets
Sick of finding all of your notices on the floor instead of where they should be? Most staff room notice boards are filled with thumbtacks that have a hard time keeping your documents in place. So why not try a magnetic whiteboard surface instead?
You can stick four sheets of A4-size paper with a single neodymium magnet on a wall treated with the Smart magnetic paint by Smarter Surfaces. The super magnetic paint with a 60% magnetite content offers even better magnetic pull. With a large enough magnet, you can mount a TV on a wall treated with the magnetic plaster by Smarter Surfaces, thanks to its 75% magnetite content.
Now, maybe you have a quick update you need to share with your colleagues. Don’t waste time typing and printing it out. Instead, simply write your update onto the wall and wipe it off when it’s no longer relevant.
Magnetic whiteboard walls give you the freedom to easily and effortlessly display your notices. That’s how it should be.
Important Information Where You Can See It
In most schools, there will be students who suffer from medical conditions or allergies.
To ensure the proper health and safety of these students, all staff must be aware of who these students are and what they are dealing with.
With a magnetic whiteboard surface, you can stick up pictures of students in your staff room and write out important details. These can be what allergy or condition students may have what to do and who to call in case an emergency arises.
Don’t forget the health and safety of your staff members.
All of our magnetic whiteboard products are low VOC and won’t trap dust like noticeboards keeping your staff room air as clean as possible.
Explore more possibilities with Smarter Surfaces
There’s a lot of potential trapped inside your staffroom walls. Tap into it by adopting smart communication, and collaboration mechanisms like the magnetic whiteboard. Have an expert look at your walls, and learn what the possibilities are.
Book a free consultation video call with the product advisors at Smarter Surfaces
Share a photo or a video of your wall and we will share ideas to help you make the most out of it
Get personalized guidance from experts
Our educators’ programme is specially designed to help schools adopt smarter collaborative apparatuses with ease. As a member of the programme, you will enjoy free shipping, personalized customer support, and credit payment facilities.
by administrator | Oct 25, 2018 | Blog

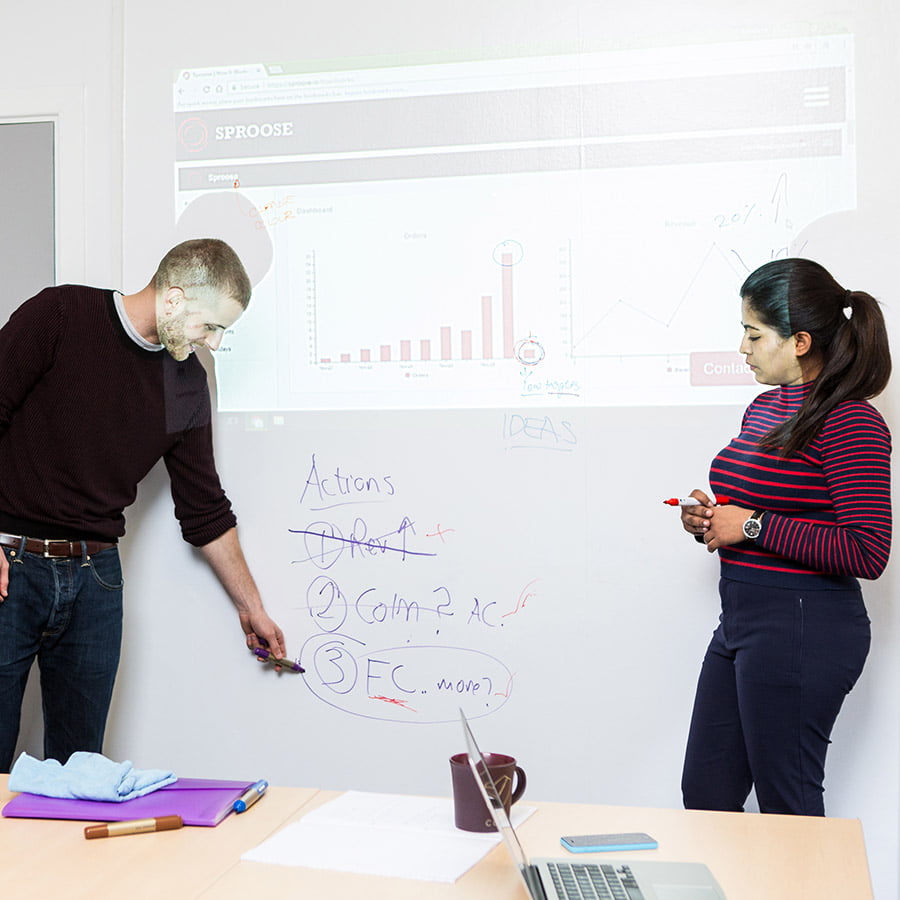
As the name suggests a projector whiteboard wall combines two functionalities – a whiteboard, and a projection wall. That means you can use a projector whiteboard wall for writing with dry-erase markers and projecting images and videos with a projector. The fun part is, you can do both simultaneously.
A writable wall in any office setting has a deep positive effect on the people who work there. It invites more collaboration, encourages creativity, and over time becomes a hub of recreational activities that boost morale.
The moment you add the projection-screen functionality to a writable wall, its operational value just jumps up a few notches.
Imagine a strategy meeting that involves discussion over charts, spreadsheets, and new proposals. How cool is it if you could project the charts, and spreadsheets on a wall while writing your comments and new ideas on the same wall with a dry-erase marker?
Having a projector whiteboard wall in an office is a terrific idea and the best part is you can install it yourself. In this post, we’ll discuss the key benefits of a projector whiteboard wall and explain how you can install it in easy steps.
Key benefits of having a projector whiteboard wall in an office
- It’s a wall so it does not take up extra space but rather creates it
Mobile projector screens require storage space, you have to move stuff to install it for use, and you need to carefully maintain it when it’s not in use. A projector whiteboard wall is just a wall. You don’t need to fold it, wash it, or roll it up and store it anywhere.
- Dual functionality
You can write on a projector whiteboard wall, project images on it, and do both simultaneously. You can project your website on the wall and draw on it to mark any issues you find. It does not get any better than that, or does it?
- Magnetic Projector Whiteboard Wall
So, it does get better. With the magnetic projection whiteboard wallpaper designed and manufactured by Smarter Surfaces, you can have three functionalities on one wall. Project on it, write on it, stick notes on it with a magnet, and do all of them at the same time.
- Ease up communication between teams
The communication gap between different teams results in a lot of lost time at workplaces. Let’s say the marketing team wants a small change made to the marketing website. They have to go through trial and error to properly convey their requirements to the front-end developer. The mail trail gets longer and everyone loses patience.
A projector whiteboard wall could have made it much easier. Projet the existing site, and mark the area where the change is needed with a marker. If you need a specific image or icon installed at that place, print it out and stick it with a magnet. Problem solved, and communication gap bridged.
- Your company gets a new outlook
Clients visit your office to get a brief on the progress you’ve made working on a piece of software you’ve been commissioned to design. With a projector whiteboard wall, you can project the prototype and draw the upcoming features on it. It paints a clear picture in the minds of your clients, and they know that their project is in the right hands.
How to create a projector whiteboard wall?
There are two ways of creating a projector whiteboard wall. You can paint your wall with matt whiteboard paint or apply whiteboard projector wallpaper to it.
The matt whiteboard paint by Smarter Surfaces has a gloss level of around 51 Gloss Units at a 60° viewing angle whereas the whiteboard projector wallpaper has a slightly lower gloss level of 41 GU which is comparatively better for projection. However, if your wall has fixtures on it or if you’re in a rented office and applying wallpaper is in violation of your contract with the building owner, the matt projector whiteboard paint is more suitable for you.
Nevertheless, we’ll discuss the installation steps for both products.
How to apply the matt whiteboard paint
- First, measure your wall and make sure you get the right amount of paint to cover it properly. After that, tape off any wall-mounted fixtures like switches.
- Ensure there are no cracks, holes, or other defects in the wall. If there are, cure them with a decorator’s filler and wait for the filler to dry.
- Once you have a smooth surface, apply a white water-based primer. 2 coats of primer should be enough. Apply another coat if any traces of the paint underneath are visible.
- Once the primer is absolutely dry (it usually takes up to 12 hours), your wall is ready for a coat of matt whiteboard paint.
- The matt whiteboard paint comes in two parts – part A and part B. Mix all of part A with part B and stir it well for no less than five minutes. Once mixed, start applying the paint to your wall in small sections. Use the roller sleeve provided in the application kit (make sure you use a fresh roller sleeve for the whiteboard paint).
- Refer to the step-by-step application guide during installation to avoid any issues.
- It will take four days for the paint to cure. After that, you’ll have a low-sheen projector whiteboard wall.
How to install the whiteboard projection wallpaper
- First, clean the wall with a damp cloth to ensure there is no dust. You can sand it lightly to get rid of any inconsistencies. Scrap off loose paint or old wallpaper if any.
- Then, stir the adhesive till you achieve a smooth consistency. You can add up to 10% water if needed.
- Apply two coats of adhesive on the wall waiting a bit for the first coat to dry. Use 1kg of adhesive per square metre of surface area for each coat. Once the second coat is applied, start putting up the wallpaper.
- The whiteboard projection wallpaper installation guide has step-by-step instructions and expert tips to help you apply the wallpaper correctly. Follow the guide closely to manage edges and overlaps.
- Once the wallpaper is installed, check for air bubbles and lumped adhesive. Push those towards the edges to get a smooth finish. Wipe off any adhesive residue on the edges with a damp cloth.
You can follow the same steps to apply the magnetic projector whiteboard wallpaper. Here’s a DIY video tutorial to make things easier for you.
Our expert advisors are available to answer any questions and offer advice, get in touch for free expert support. Whether it’s choosing the right product for your project or installation advice we are here to help. Planning a future project? Book a free video or phone call here.