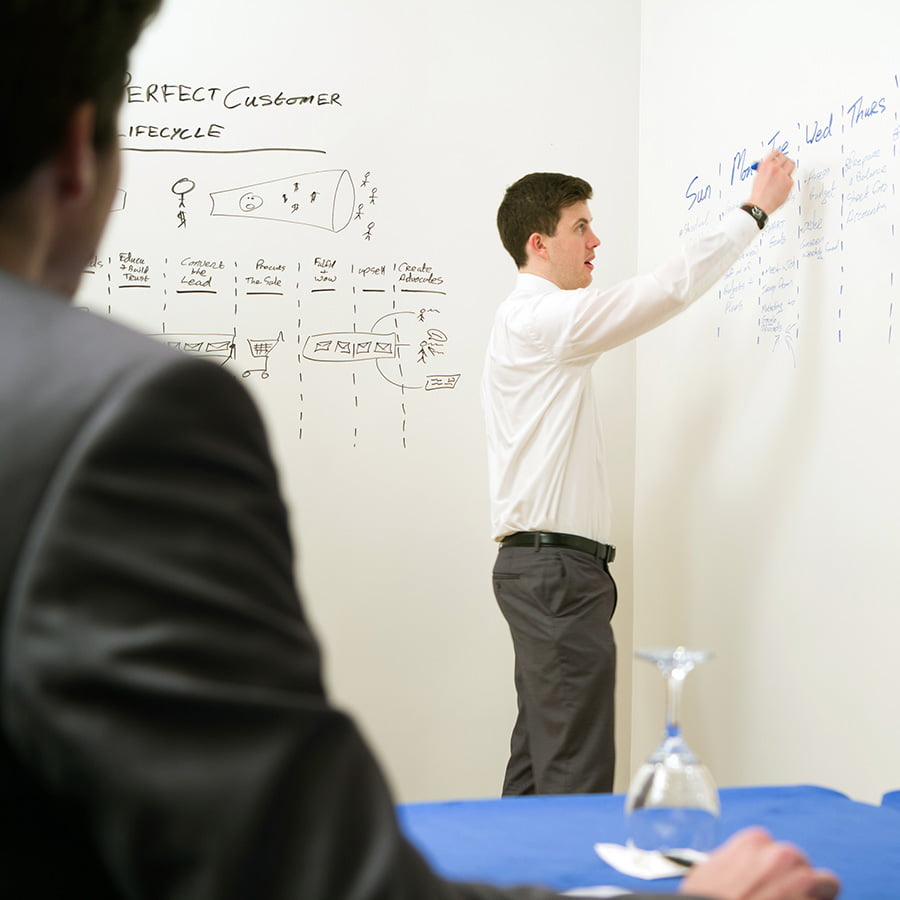
Traditional whiteboards come with limitations in terms of size, the kind of space it requires, and in terms of functionality. Writable walls can circumnavigate these limitations (quite literally) and add a fresh dynamic to an office space.
With writable walls, you can bid farewell to the fear of running out of board space while expressing ideas. You can invite collaboration and enhance the free flow of creativity in offices, schools, and even at home. The best part is that you can create writable walls out of regular walls by yourself.
Two different ways of creating writable walls
There are two ways of creating a writable wall.
- Applying a dry-erase whiteboard paint
- Applying a whiteboard wallpaper
With either of the above methods, you can turn a regular wall into a dry-erase writable surface. You can use dry-erase markers to write on them and clean them up with microfibre cloths.
Depending on the surface, one method of creating a writable wall may be more suitable than the other. For instance, it is easier to apply the whiteboard paint on unusual surfaces that have obstructions like a switchboard, a pillar, a window or any other fixture. On the other side, if you have a large, plain wall, it is easier and faster to apply the whiteboard wallpaper.
If you are unsure what product to choose for your writable walls, get in touch with our product advisors. They will take a look at your wall and suggest the best product and application method for you.
A step-by-step guide to creating a writable wall with whiteboard paint
Step 1: Prepare the wall
Look for inconsistencies, holes, or bumps on the surface. Use a regular decorator’s filler to fill up any holes or cracks. Use sandpaper to get rid of inconsistencies or debris
Step 2: Prime the wall
Use two coats of high-quality primer to prime the wall. Wait for 2-4 hours in between the coats for the primer to dry. Priming the wall is not necessary if your wall is freshly painted.
Step 3: Prepare the whiteboard paint
The smart whiteboard paint comes in two parts – part A and part B. Pour all of part A into part B and stir it well for at least 5 minutes.
Step 4: Applying the whiteboard paint
Start applying the whiteboard paint to small sections with a roller. Make sure that you soak the roller evenly but not so much that the paint drips from it or hinders the rolling motion. Roll the paint vertically with even pressure.
The detailed application guide and installation videos will help you along the way.
Once you are done with a section, check it from different angles to ensure no inconsistencies.
The paint will be touch dry in 4 hours but you should wait 4 days for the paint to cure properly.
A step-by-step guide to applying whiteboard wallpaper
The application process for the whiteboard wallpaper has only three steps.
- Stir the vinyl-over-vinyl wallpaper adhesive to reach a smooth consistency, you can add up to 10% water if needed.
- Ensure you have a smooth surface and apply two coats of adhesive with a roller.
- Apply the wallpaper following the instructions in our wallpaper installation guide.
It is normal for air bubbles to form underneath the wallpaper while installing. Use a plastic spatula to push the excess adhesive towards the edges. You can use a damp cloth to clean any adhesive residue. Your writable wall will be ready and fully functional within 24 hours.
Making your writable walls more interesting
You can have a magnetic whiteboard wall using one of two methods:
- Apply 4 coats of magnetic paint before applying the primer and then apply the whiteboard paint.
- Use the magnetic whiteboard wallpaper instead of the regular whiteboard wallpaper.
Or
You can have a writable wall that doubles as a projector screen by using the matt whiteboard paint or by applying the low-sheen whiteboard wallpaper.
Smarter Surfaces also offers a magnetic projector screen whiteboard wallpaper that ties three functionalities into one product. This wallpaper gives you a writable wall that you can stick magnets to and project on with short-throw or long-throw projectors.
Creating writable walls in the colour of your choice
If you have a freshly painted wall that you want to turn into a whiteboard without changing its colour, Smarter Surfaces has the perfect product for you. All you need to do is apply a coat of clear whiteboard paint and the surface will be ready to use as a whiteboard within 4 days.
In fact, you can turn a wooden wall into a writable wall by adding an extra step.
First, apply two coats of clear primer on the wooden surface to close up its pores. Then, apply the clear whiteboard paint to get a writable wall without losing the natural finish.
The dry-erase self-adhesive films are perfect for turning wooden tabletops, glass doors, or metal panels into writable surfaces.
4 key benefits of having a writable wall
- It turns a boring office wall into a centre for communication and collaboration.
- In a classroom, students will never run out of space while expressing their ideas.
- It’s a great space for recreational activities like quizzes and games.
- With the added qualities of magnetic receptibility and projectability, the writable walls become hubs of innovation and convenient communication.
If you are having trouble deciding what product you should use for your specific needs, it’s quite normal. That is why the experts at Smarter Surfaces are always available to offer you insights and help you find the right fit. You can get personalised advice from our product advisors and industry experts, and we won’t charge you for that. Book a video consultation now.


