As the name suggests a projector whiteboard wall combines two functionalities – a whiteboard, and a projection wall. That means you can use a projector whiteboard wall for writing with dry-erase markers and projecting images and videos with a projector. The fun part is, you can do both simultaneously.
A writable wall in any office setting has a deep positive effect on the people who work there. It invites more collaboration, encourages creativity, and over time becomes a hub of recreational activities that boost morale.
The moment you add the projection-screen functionality to a writable wall, its operational value just jumps up a few notches.
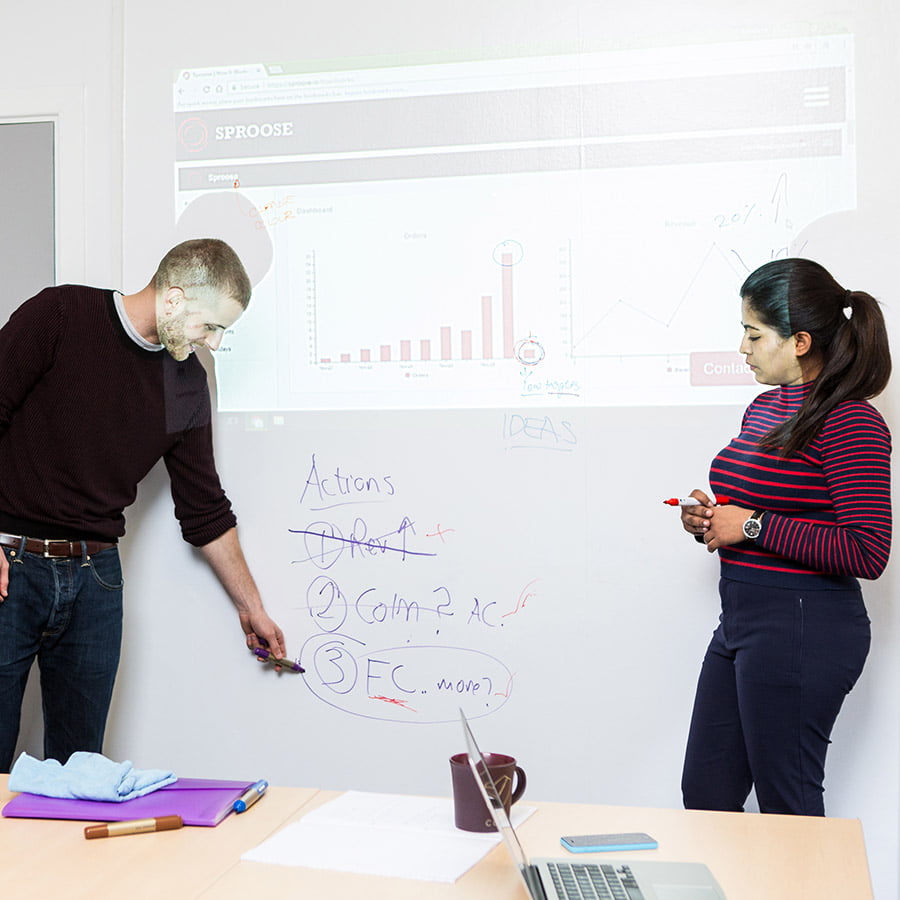
Imagine a strategy meeting that involves discussion over charts, spreadsheets, and new proposals. How cool is it if you could project the charts, and spreadsheets on a wall while writing your comments and new ideas on the same wall with a dry-erase marker?
Having a projector whiteboard wall in an office is a terrific idea and the best part is you can install it yourself. In this post, we’ll discuss the key benefits of a projector whiteboard wall and explain how you can install it in easy steps.
Key benefits of having a projector whiteboard wall in an office
- It’s a wall so it does not take up extra space but rather creates it
- Dual functionality
- Magnetic Projector Whiteboard Wall
- Ease up communication between teams
- Your company gets a new outlook
Mobile projector screens require storage space, you have to move stuff to install it for use, and you need to carefully maintain it when it’s not in use. A projector whiteboard wall is just a wall. You don’t need to fold it, wash it, or roll it up and store it anywhere.
You can write on a projector whiteboard wall, project images on it, and do both simultaneously. You can project your website on the wall and draw on it to mark any issues you find. It does not get any better than that, or does it?
So, it does get better. With the magnetic projection whiteboard wallpaper designed and manufactured by Smarter Surfaces, you can have three functionalities on one wall. Project on it, write on it, stick notes on it with a magnet, and do all of them at the same time.
The communication gap between different teams results in a lot of lost time at workplaces. Let’s say the marketing team wants a small change made to the marketing website. They have to go through trial and error to properly convey their requirements to the front-end developer. The mail trail gets longer and everyone loses patience.
A projector whiteboard wall could have made it much easier. Projet the existing site, and mark the area where the change is needed with a marker. If you need a specific image or icon installed at that place, print it out and stick it with a magnet. Problem solved, and communication gap bridged.
Clients visit your office to get a brief on the progress you’ve made working on a piece of software you’ve been commissioned to design. With a projector whiteboard wall, you can project the prototype and draw the upcoming features on it. It paints a clear picture in the minds of your clients, and they know that their project is in the right hands.

How to create a projector whiteboard wall?
There are two ways of creating a projector whiteboard wall. You can paint your wall with matt whiteboard paint or apply whiteboard projector wallpaper to it.
The matt whiteboard paint by Smarter Surfaces has a gloss level of around 51 Gloss Units at a 60° viewing angle whereas the whiteboard projector wallpaper has a slightly lower gloss level of 41 GU which is comparatively better for projection. However, if your wall has fixtures on it or if you’re in a rented office and applying wallpaper is in violation of your contract with the building owner, the matt projector whiteboard paint is more suitable for you.
Nevertheless, we’ll discuss the installation steps for both products.
How to apply the matt whiteboard paint
- First, measure your wall and make sure you get the right amount of paint to cover it properly. After that, tape off any wall-mounted fixtures like switches.
- Ensure there are no cracks, holes, or other defects in the wall. If there are, cure them with a decorator’s filler and wait for the filler to dry.
- Once you have a smooth surface, apply a white water-based primer. 2 coats of primer should be enough. Apply another coat if any traces of the paint underneath are visible.
- Once the primer is absolutely dry (it usually takes up to 12 hours), your wall is ready for a coat of matt whiteboard paint.
- The matt whiteboard paint comes in two parts – part A and part B. Mix all of part A with part B and stir it well for no less than five minutes. Once mixed, start applying the paint to your wall in small sections. Use the roller sleeve provided in the application kit (make sure you use a fresh roller sleeve for the whiteboard paint).
- Refer to the step-by-step application guide during installation to avoid any issues.
- It will take four days for the paint to cure. After that, you’ll have a low-sheen projector whiteboard wall.
How to install the whiteboard projection wallpaper
- First, clean the wall with a damp cloth to ensure there is no dust. You can sand it lightly to get rid of any inconsistencies. Scrap off loose paint or old wallpaper if any.
- Then, stir the adhesive till you achieve a smooth consistency. You can add up to 10% water if needed.
- Apply two coats of adhesive on the wall waiting a bit for the first coat to dry. Use 1kg of adhesive per square metre of surface area for each coat. Once the second coat is applied, start putting up the wallpaper.
- The whiteboard projection wallpaper installation guide has step-by-step instructions and expert tips to help you apply the wallpaper correctly. Follow the guide closely to manage edges and overlaps.
- Once the wallpaper is installed, check for air bubbles and lumped adhesive. Push those towards the edges to get a smooth finish. Wipe off any adhesive residue on the edges with a damp cloth.
You can follow the same steps to apply the magnetic projector whiteboard wallpaper. Here’s a DIY video tutorial to make things easier for you.
Our expert advisors are available to answer any questions and offer advice, get in touch for free expert support. Whether it’s choosing the right product for your project or installation advice we are here to help. Planning a future project? Book a free video or phone call here.
