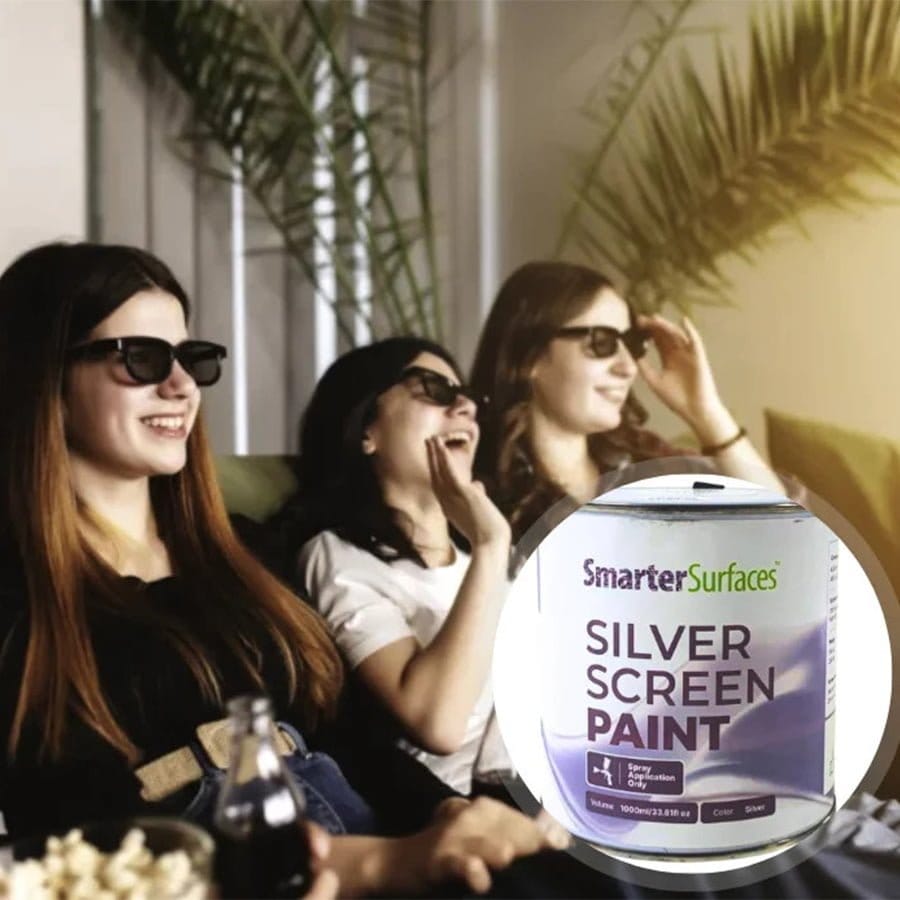
Best Silver Screen Paint for 3D projection: A Complete Buyer’s Guide

Table of Contents
- Introduction
- What is Projector Paint?
- Benefits of Projector Screen Paints
- Best Projector Screen Paint for HD Projectors
Transform your home theatre experience with the right silver screen paint. Whether you're setting up a dedicated cinema room or enhancing your lounge for weekend movie nights, choosing the best silver screen paint for 3D projection can dramatically improve your 3D projection quality and viewing experience.
What is Silver Screen Paint?

Silver screen paint is a specialised coating designed to maximise light reflection and enhance the brightness and contrast of projected images. Unlike standard white paint, silver screen paint for home & commercial spaces contains reflective particles that boost image quality, making it effective for 3D projections and low-light environments.
Top Benefits of Silver Screen Paint for 3D Projection
Understanding why best silver screen paint for 3D projection outperforms standard wall surfaces helps you appreciate the investment and sets realistic expectations for your home theatre upgrade.

1. Enhanced Brightness and Contrast
The metallic particles embedded within silver screen paint work like tiny mirrors, reflecting projected light towards viewers with remarkable efficiency. This reflective quality delivers images that appear significantly brighter than those displayed on standard white walls.
The increased brightness can be very useful in the 3D viewing where polarised glasses inherently lower the amount of light that gets to your eyes. The dark scenes retain the depth, and bright ones have their bright pop, to give that cinema-quality effect.
2.Improved 3D Image Depth and Clarity
Three-dimensional content relies heavily on precise light delivery to each eye, and silver screen paint for home & commercial spaces excels in this area. Reflective surface keeps polarised light patterns intact, which are important in the functionality of 3D glasses.
This provides sharp edges, better definition between the foreground and background objects, and reduced ghosting or crosstalk that is common on bad surfaces
3. Better Performance in Ambient Light Conditions
Unlike traditional projection screens that struggle when room lights are on, best silver screen paint for 3D projection demonstrates impressive resilience against ambient lighting.
The reflective properties help combat light pollution from windows, lamps, or even the glow from your mobile phone. This adaptability means you won't need to create a completely darkened environment to enjoy quality viewing. The paint effectively redirects projected light towards viewers and minimizes the washing-out effect that occurs in bright environments.
4. Cost-Effective Alternative to Traditional Projection Screens
Quality motorised projection screens or fixed-frame versions will cost thousands of dollars, especially for larger screens. The best silver screen paint for 3D projection provides a great value with a sufficient amount of product that can cover a large portion of the wall at a fraction of the cost.
Consider that a high-quality 120-inch projection screen may cost you between $2000 and $4000, and the silver screen paint covering the same area of viewing only costs around $1400. Apart from saving money, you are saving constant worry about screen breaks, motor malfunctions, or wear and tear on fabrics that are haunting your mechanical options.
5. Customisable Screen Sizes to Fit Any Space
The silver screen paint for commercial use and residential use has no fixed size. This will help you to design an ideal viewing area to your space. You can make unusual aspect ratios or curved surfaces that would not have been possible with traditional screens.
Such flexibility is invaluable to the Australian houses with distinctive architectural styles or to the houses that make the most of small living areas.
6. Easy Maintenance and Cleaning
To keep the silver screen paint surface clean, all one has to do is dust off the surface with a soft cloth or clean up with a light vacuum cleaner with a brush attachment every so often. The painted surfaces resist most contaminants in the household as compared to the fabric screens, which can accumulate dust, develop stains or need a professional cleaning.
This is a low-maintenance method that is appropriate to a busy lifestyle where simplicity is important. In case of any damage to a small portion, it can be repaired with ease and looks well with the normal surface.
Key Factors to Consider When Choosing Silver Screen Paint

Not all silver screen paints deliver the same results, and choosing the wrong specifications for your room can leave you disappointed. The factors shared below determine whether your investment delivers cinema-quality results or becomes an expensive mistake.
1. Gain Rating
The gain rating tells you how much brighter your projected image will appear compared to a standard white wall. Higher gain sounds brilliant, but it comes with trade-offs - you'll get a brighter picture in the centre but potentially darker edges and a narrower sweet spot for viewing. Most home theatres work best with gain ratings between 1.2 and 2.5.
2. Surface Texture
Smooth finishes give you razor-sharp images but can create annoying bright spots if you're sitting directly in line with the projector beam. Slightly textured surfaces scatter light more evenly, reducing hotspots and maintaining decent sharpness.
3. Ambient Light Performance
If your viewing room gets plenty of natural light or you can't achieve cinema-dark conditions, look for paints specifically designed to reject ambient light. The specialised formulations by Smarter Surfaces bounce projected light back to viewers while absorbing stray light from windows or lamps. Perfect for Australian homes where you want to watch movies during the day without drawing all the curtains.
4. Colour Temperature
The best silver screen paint for 3D projection can shift colour temperature slightly, making images appear warmer or cooler than intended. Quality paints maintain neutral colour reproduction, ensuring skin tones look natural and your favourite films appear as the director intended. This becomes particularly important with 3D content, where colour accuracy affects the depth perception your brain relies on.
5. Viewing Angle
Your viewing angle determines how far off-centre you can sit before image quality drops noticeably. Higher gain paints offer narrow viewing angles, which works fine for dedicated theatre rooms, but proves problematic in family areas where people sit in various spots. Consider your seating arrangement and choose the best projectors for silver screen paint, as there's no point having a brilliant centre image if half your mates can't see properly from the sides.
Application and Installation Tips - Best Silver Screen Paint for 3D Projection

Getting professional results with silver screen paint comes down to proper preparation and technique rather than expensive tools or years of experience. These practical tips help you avoid common pitfalls and achieve a smooth, uniform surface that delivers optimal image quality.
1. Surface Preparation
Start with a clean, smooth wall - fill any holes with putty and sand down rough patches before you begin. Give the surface a good wipe with sugar soap to remove grease and grime, then apply quality white primer from Smarter Surfaces. A properly prepped wall makes all the difference between a professional-looking result and a patchy mess.
2. Application Techniques
2.1. Brush vs Roller vs Spray Application
Rollers work best for most DIY jobs - they're easy to control and give consistent coverage across large areas. Brushes are handy for cutting in edges, but can leave streak marks on the main surface. Spray application delivers the smoothest finish but requires proper equipment and experience to avoid overspray disasters.
2.2. Number of Coats Required
Smarter Surfaces silver screen paint for commercial use needs two coats for optimal performance. Follow the user manual or recommendations while applying. Skimping on coats will leave you with patchy brightness and disappointed with your investment.
2.3. Drying Times and Conditions
Allow at least four hours between coats in typical Australian conditions, though humidity can extend this significantly. Don't rush the process on humid days, or you'll end up with runs and an uneven finish that's impossible to fix without starting over.
2.4. Common Mistakes to Avoid
The biggest mistake is applying coats too thick - it creates an uneven surface that affects image quality. Also, avoid painting in direct sunlight or on windy days if you're working near open doors, as dust and debris will ruin your smooth finish.
3. Creating the Perfect Viewing Environment

3.1. Optimal Room Lighting
Install dimmable lights that you can adjust for different viewing situations - bright enough for general use but dim enough to disappear during movie time. Avoid placing lights directly opposite your screen as they'll create glare and wash out your projected image.
3.2. Seating Arrangement Considerations
Position your main viewing seats within the screen's optimal viewing angle, typically the centre third of your seating area. Don't push furniture too close to the walls as you'll lose the immersive effect, and ensure everyone has a clear sightline without craning their necks.
3.3. Ambient Light Control
Heavy curtains or blinds are essential for daytime viewing, and light-coloured walls around your screen can cause distracting reflections. Consider painting adjacent walls in darker colours to improve contrast and reduce light bounce that competes with your projection.
4. Maintenance and Care
Dust your screen surface weekly with a microfibre cloth, working in gentle circular motions to avoid scratching the finish. For stubborn marks, use a slightly damp cloth with mild detergent, then dry immediately to prevent water spots. Avoid harsh chemicals or abrasive cleaners that might damage the reflective properties you've paid good money for.
5. Budget Considerations
5.1. Initial Cost vs Long-term Value
The best silver screen paint for 3D projection might seem expensive upfront compared to regular paint, but it's still a fraction of the cost of a quality projection screen. Factor in the longevity - a good application should last 8-10 years with proper care, making it an excellent value compared to replacing damaged screens or upgrading projectors to compensate for poor surface performance.
5.2. DIY vs Professional Installation Costs
Most handy Aussies can tackle this as a weekend project, saving hundreds in labour costs while gaining the satisfaction of a job well done. However, if your walls need significant prep work or you're not confident with paint application, professional installation ensures optimal results and often comes with warranty coverage.
5.3. Maintenance Expenses Over Time
Ongoing costs are minimal - just occasional cleaning supplies and perhaps a small tin of touch-up paint for future repairs. Compare this to motorised screens that might need motor replacements or fabric screens requiring professional cleaning, and the savings become substantial over the years.
Key Takeaway
Silver screen paint offers home theatre enthusiasts an affordable way to achieve cinema-quality 3D projection without the hefty price tag of traditional screens.
As an enthusiast, all you need to do is focus on matching the paint's gain rating and ambient light performance to your room conditions. Take your time with proper application, and you'll create a custom viewing surface that delivers impressive brightness, contrast, and depth for years to come. The best projectors for silver screen paint is a smart investment that transforms any wall into a professional projection screen while giving you complete control over size and placement.
Ready to unlock the potential of your 3D setup? Try our silver screen paint and see the difference.


